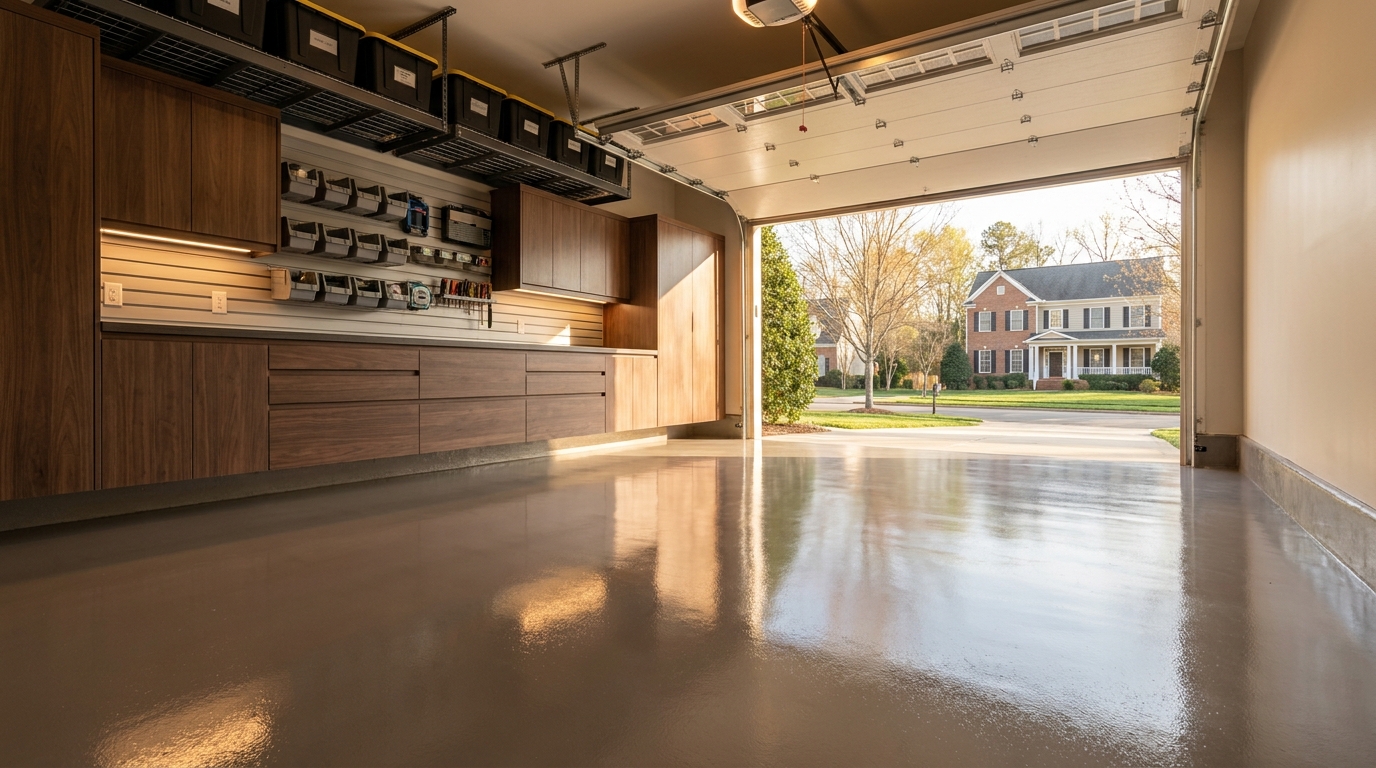
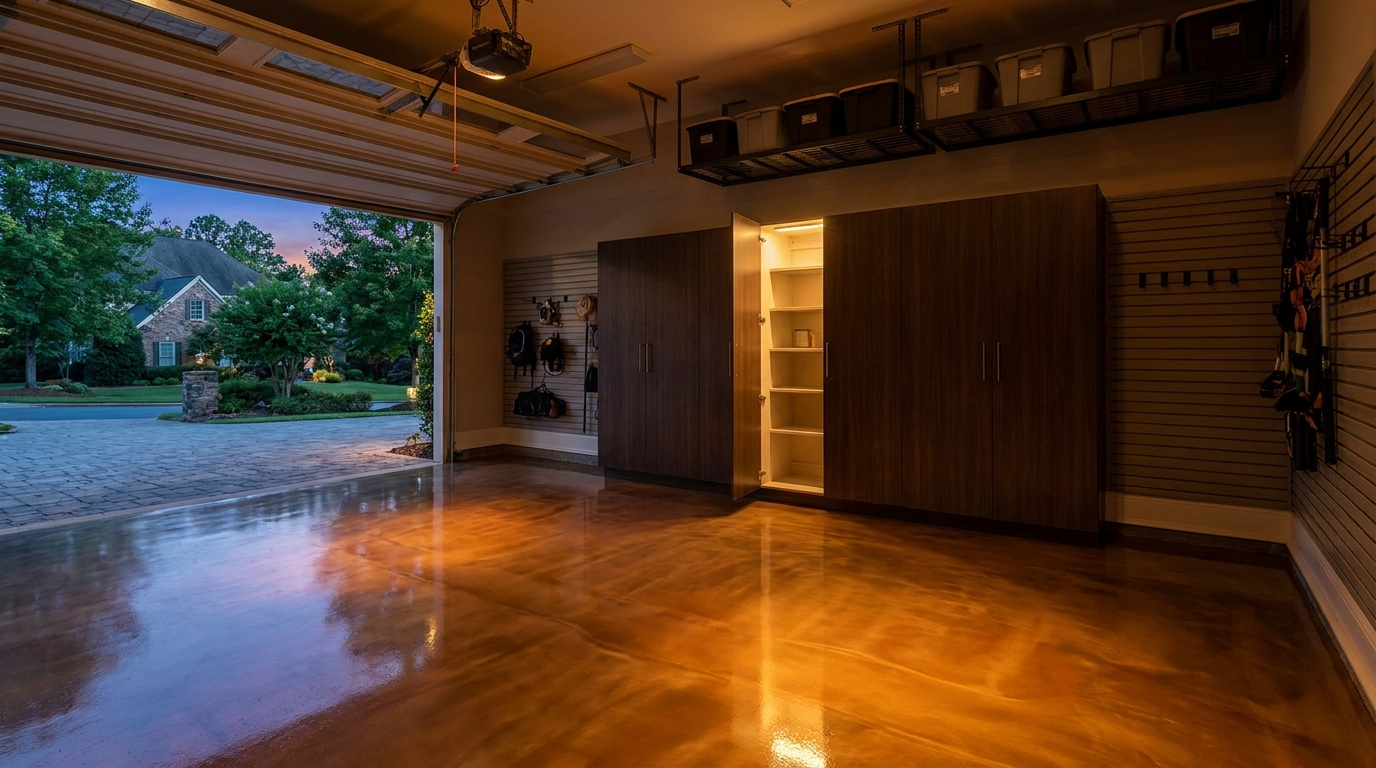
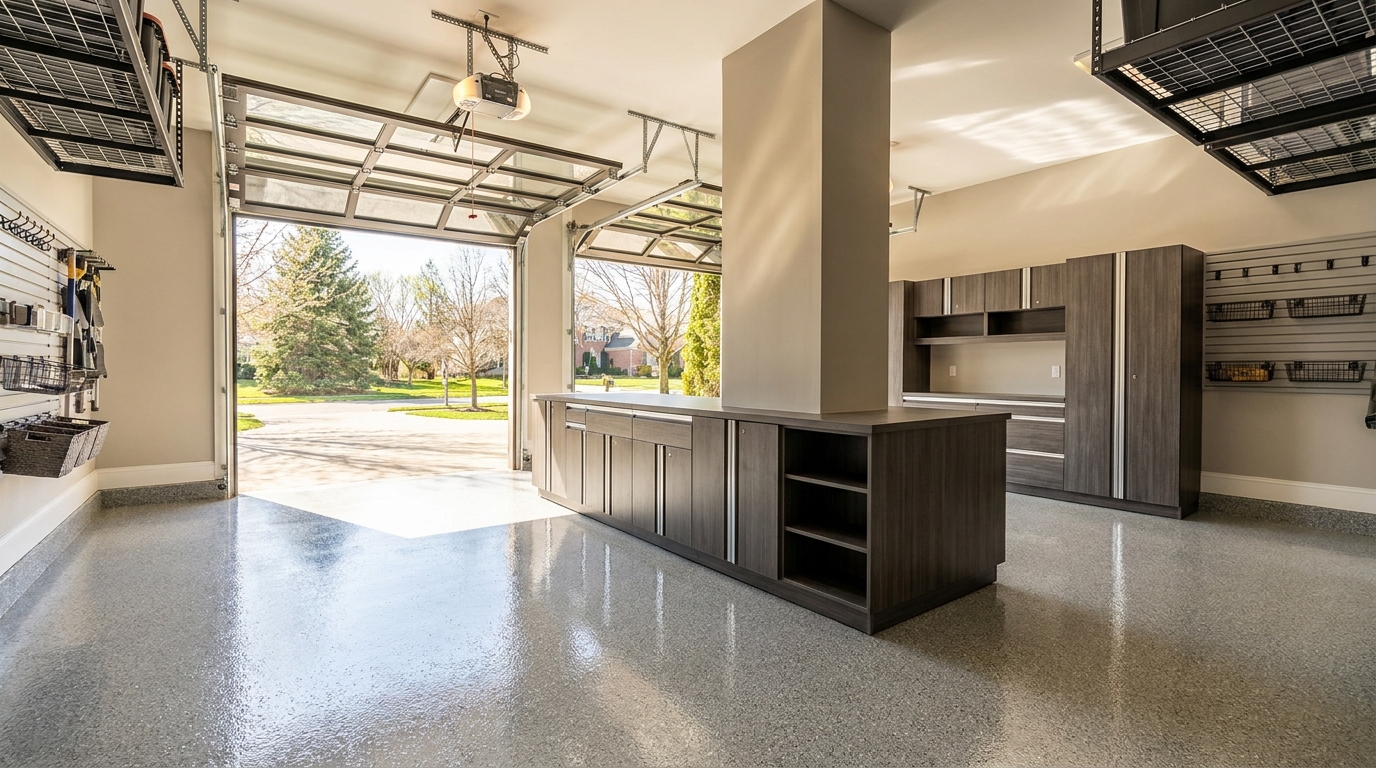
Prepare Garage for Installation in One to Two Days
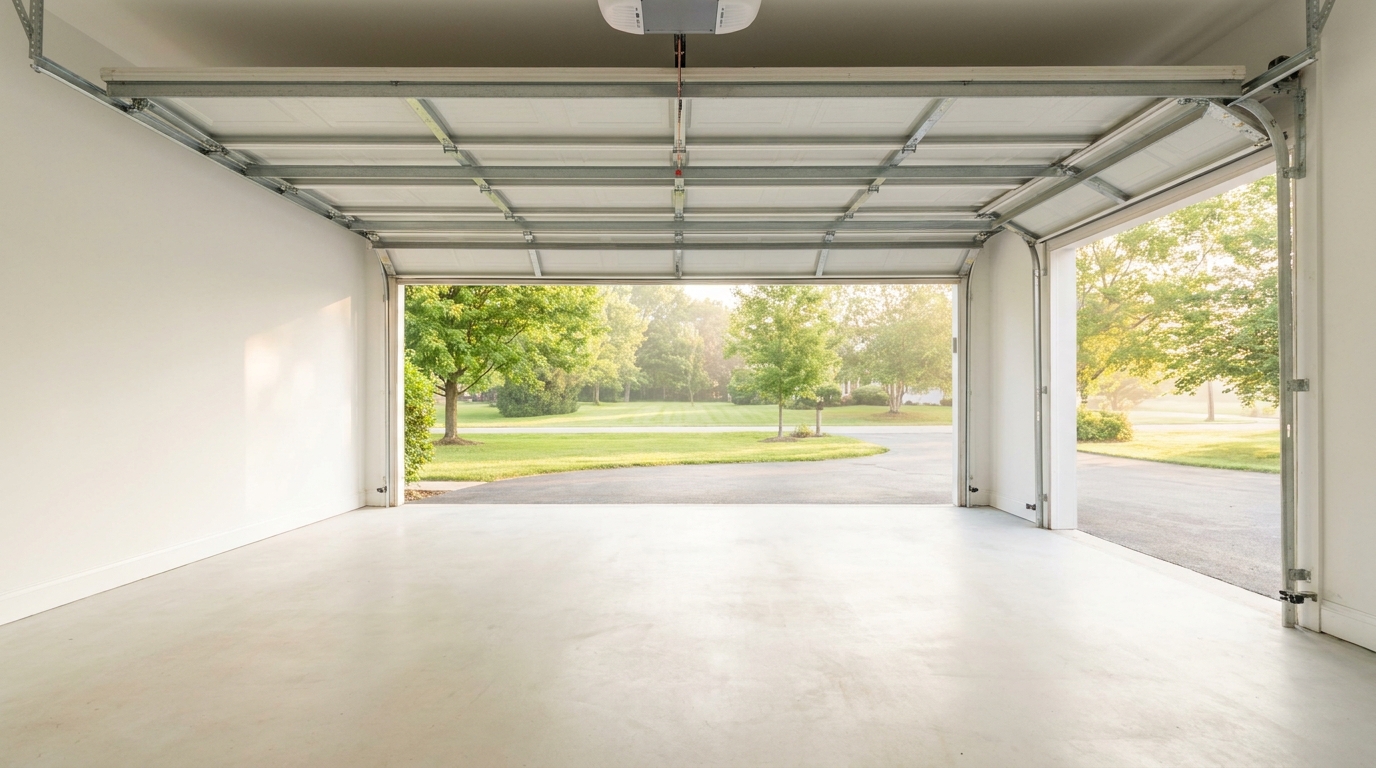
If you want our crew to finish in the one-to-two-day window we publish, prepare your garage for installation by moving belongings at least to the perimeter (and fully off the slab if we are coating the floor), taking gasoline, propane, and leftover chemicals out of the room, and lining up parking for the work window. We say the same thing on our homepage: belongings need to move at least to the perimeter, and we send a pre-install checklist your project manager walks through with you a few days before we arrive.
A coating crew cannot diamond-grind around a stack of totes. A cabinet crew cannot hang a wall of boxes behind a parked mower. Overhead racks need a clear ceiling. The prep is what keeps the job on the schedule you already agreed to.
Practical takeaways
- Start with the floor. For floor coatings, the entire slab should be empty. For cabinets, slatwall, or overhead storage, belongings can sit at the perimeter if they leave the walls, ceiling, and a working aisle open.
- Pull hazardous items out of the garage entirely: gasoline, propane cylinders, fertilizers, pesticides, paints, and leftover solvents. North Carolina expects propane cylinders to live outdoors, not inside.[5] EPA treats leftover paints, oils, and pesticides as household hazardous waste that should stay in original labeled containers.[6]
- Plan parking before install day. Coatings are walk-ready in a few hours but typically wait about 24 hours before vehicle traffic. Do not idle a car in an attached garage while you shuffle vehicles, even with the door open.[4]
- Stay out of the garage during grinding. Concrete grinding can create respirable crystalline silica dust. Our crew uses wet methods or vacuum collection so that dust stays controlled.[1][2]
- Use the few days before we arrive. That is when your project manager walks the checklist with you.
What "at least to the perimeter" actually means
Homeowners often hear "clear the garage" and picture a full empty-out, like moving day. That is the right picture for a floor coating. It is more than we need for cabinets or slatwall alone.
On our homepage we answer the question directly: yes, you need to move everything at least to the perimeter. We provide a full pre-install checklist, and your project manager walks through it with you a few days before we arrive. Perimeter means the stuff can stay in the room, pushed to the edges, as long as it is not in the work path. It does not mean a pile in the middle of the bay, and it does not mean leaving one car in the stall. The floor we stand on, the walls we fasten to, and the ceiling we hang from have to be open.
Think of the garage as three work surfaces:
- The slab. Coatings, crack repair, and grinding happen here. Anything sitting on that concrete is in the way.
- The walls. Cabinets, slatwall, and shelving fasten to studs. The wall from floor to the height of the system has to be clear, including hooks, old shelves, and leftover pegboard.
- The ceiling. Overhead racks and motorized platforms need a clear run of framing. Holiday bins stacked on the joists have to come down first.
If the project is cabinets and slatwall only, a neatly stacked perimeter of labeled bins along the unused wall is usually fine. If the project includes a coating, treat the slab as a workbench we have to own for a day. Move the bins into a spare room, a porch, or a shed. Do not park them on the driveway right in front of the door. We still need to roll equipment in.
Floor coatings need an empty slab, not a "mostly empty" slab
A coating job starts with concrete preparation, not with color chips. We diamond-grind the slab to remove old paint, old epoxy, and surface contamination, then fill cracks and control joints before any primer goes down. That sequence is on our garage flooring page because the prep is what decides whether the finish lasts.
Grinding is also why the room has to be empty of people who are not on the crew. OSHA is plain: concrete contains crystalline silica, and grinding it creates respirable particles at least 100 times smaller than ordinary beach sand.[1] Those particles raise the risk of silicosis, lung cancer, COPD, and kidney disease for people who inhale them at work.[1] OSHA's construction standard treats walk-behind floor grinders as a silica task and specifies wet methods or a vacuum dust collection system. Indoors, the same fact sheet calls for extra ventilation when dust can build up, and it tells crews not to blow the floor off with compressed air.[2] Get belongings, pets, and kids out of the room so that gear can work and so we are not grinding around a snowblower.
Moisture is the other reason we want the slab visible. During the on-site assessment we check existing condition, including moisture, before we recommend a coating or tile. EPA's remodeling guidance is useful context: too much moisture in a home leads to mold, and water that enters building assemblies and cannot dry can also cause premature paint failure.[3] A slab that stays damp after rain is a coating problem we need to see, not a surprise after the furniture is already on the driveway.
Once the coating goes down, ventilation is about comfort and indoor air. Our flooring page describes the chemistry as low VOC and low odor, with no special ventilation requirement after cure. EPA still gives a general rule for any product that emits volatile organic compounds: increase ventilation while you use it, follow the label, and remember that paints, solvents, and stored fuels all release gases.[7] EPA's TEAM study, completed in 1985, found levels of about a dozen common organic pollutants two to five times higher inside homes than outside, and those concentrations can stay elevated after the activity ends.[7] Keep the door from the garage into the house closed. Stay out of the bay until we say the floor is walk-ready.
Cabinets, slatwall, and overhead storage: clear the walls
A cabinet or slatwall day looks different from a coating day. We still need room to work, but we do not need every square foot of slab the way a grinder does. On a typical cabinet install, our crew protects floors and walls and hangs the system in one to two days. Because the cabinets are wall-mounted, that means:
- Take everything off the wall you want us to cover. Old wire shelves, pegboard, TV mounts, and bike hooks all come down before we arrive, unless we have already agreed to remove them.
- Leave a working aisle along that wall for ladders, staged boxes, and door swings. Bins against the opposite wall are usually fine. A parked car is not.
- Clear the ceiling if overhead racks are part of the same project. Seasonal totes on the joists have to come down, along with anything hanging from the garage-door track.
- Flag obstacles we already measured: the electrical panel, a water heater, a side door, the opener rail. Do not bury those in a last-minute pile.
If the project is a full-room build (floor plus cabinets plus slatwall), follow the stricter rule and empty the slab. Combination projects on our homepage usually take two to three days from start to finish. The extra day is the time it takes to coat, let the floor take foot traffic, and then hang the walls. After the install, lockable cabinets are a good home for fertilizer, automotive fluids, paints, and sharp tools. Until then, those items belong in a spare room or a shed, not in an open pile at the perimeter.
Hazardous items that should leave the garage entirely
A perimeter stack of sports gear is one thing. A perimeter stack of gasoline, grill tanks, and lawn chemicals is another.
Start with propane. The North Carolina Department of Agriculture, citing NFPA 58, is explicit: tanks that contain propane, or that ever had propane in them, are to be stored outdoors, standing upright, away from heat and ignition. Do not store them indoors, under the house, or on their side.[5] If a grill tank has been living in the corner of the garage, install week is the week it goes outside.
Gasoline belongs out of the work area for two reasons. First, it is flammable. OSHA's construction rule requires approved containers, keeps flammable liquids out of exits and walkways, and limits indoor storage to 25 gallons in a room outside an approved cabinet.[8] That is a workplace rule, not a Charlotte residential permit, but it is the standard our crew works under. Second, stored fuels are an indoor-air source. EPA lists stored fuels and automotive products among common VOC sources, and it names stored fuels and automobile emissions in attached garages as indoor sources of benzene.[7] CPSC and EPA also note that paints, solvents, and stored fuels release pollutants that can linger after the activity ends.[9]
Pesticides, herbicides, and fertilizers go on the same list. EPA classifies leftover paints, cleaners, oils, batteries, and pesticides as household hazardous waste. Keep products in their original labeled containers, never store them in food containers, and never mix leftovers.[6] Corroding cans need a call to the local hazardous-materials official or fire department.[6] Improper disposal (down the drain, on the ground, into a storm sewer, or sometimes in regular trash) can pollute water and injure sanitation workers.[6] North Carolina DEQ states that the average U.S. household generates about 30 pounds of household hazardous waste per year, and that paint, thinners, and glues make up more than a third of the HHW in daily garbage.[10] Mecklenburg County residents can take household hazardous waste to the county's full-service drop-off recycling centers at no charge. Staff ask you to tell them on arrival that you have hazardous material.[11]
A short "leave the garage" list: gasoline, diesel, and two-cycle mix in approved closed cans; propane and butane cylinders stored outdoors and upright;[5] fertilizers, weed killers, insecticides, and pool chemicals in labeled original containers;[6] open or rusty paint cans, thinners, and degreasers; vehicle batteries and anything leaking.
Things that can stay at the perimeter for a cabinet-only job: sealed, non-hazardous bins, sports equipment, luggage, and empty coolers. If we are coating, those go somewhere else for the day.
Parking and the real length of the work window
Clearing the floor is half the prep. The other half is deciding where the cars live while the garage is a job site.
On our homepage we say most projects finish in 1 to 2 days, epoxy floor coatings install in a single day, cabinets and slatwall take 1 to 2 days, and full-room builds take 2 to 3. Our flooring page adds the part that affects parking: after the polyurea top coat, the floor is typically walk-ready in a few hours and vehicle-ready in about 24 hours, with exact timing depending on temperature and humidity. Cabinet-only jobs do not have that cure window, but they still need the bays empty while we hang walls.
Put those facts on a calendar. Night before: both cars out, plus the mower, bikes, and trash cans. Install day: do not park in the apron if it blocks the truck. Coating night: the garage stays empty of vehicles until we release it, usually the next day. Plan a second night of off-site parking.
Two safety rules sit next to that parking plan.
CDC is direct: never run a car or truck inside a garage that is attached to a house, even with the garage door open.[4] EPA says the same thing in fewer words: do not idle the car inside the garage.[12] Carbon monoxide is odorless and colorless. CDC reports that each year more than 400 Americans die from unintentional CO poisoning not linked to fires, more than 100,000 visit an emergency department, and more than 14,000 are hospitalized.[4] If you are moving cars on install morning, start them outside.
Do not put a portable generator in the garage so the crew has lights. CDC: never use a generator inside your home or garage, even if doors and windows are open. Use it outdoors, more than 20 feet from windows, doors, and vents.[4] EPA notes that deadly CO levels can linger for hours after the generator shuts off.[12]
If you work from home in a room that shares a wall with the garage, tell us before install day so we can keep the house-to-garage door shut.
Use the few days before we arrive
The worst time to start packing is the morning the truck is on the way. Manufacturing lead time on cabinets is typically three to five weeks after you approve the design, which is more than enough time to buy bins and decide what is trash. A few days before the install, your project manager walks the pre-install checklist with you. Use that call to confirm what can stay at the perimeter, whether we are coating or only hanging walls, where the cars will live (including the extra night after a coating), who will be home, and any last-minute surprises such as a leak or a new water heater.
A simple sequence that works for most Charlotte homes: two weeks out, sort trash, donate, and keep, and use a county HHW drop-off if the keep pile includes old gas or pesticides.[11] One week out, pack the keep pile into closed bins and move propane outside.[5] Two or three days out, walk the checklist with us and test the parking plan once. Night before, empty the work surfaces (slab, walls, and ceiling, depending on the job), close the house-to-garage door, and leave a path for the crew.
If you do those steps, you have done your part to prepare garage for installation. We can do ours in the one-to-two-day window the job was built around.
How we can help
We design and install the cabinets, floor coatings, slatwall, overhead storage, and organization systems as one room, not as leftover pieces. The consultation is free. We measure, photograph, and quote on the spot, then we send the pre-install checklist so you are not guessing what "clear the garage" means for your job. If you are not sure whether you need an empty slab or only a clear wall, ask. The answer depends on the scope.
Have more questions or want to get in touch? Contact Total Garage Charlotte.
Citations
- Occupational Safety and Health Administration. "Silica, Crystalline - Overview." https://www.osha.gov/silica-crystalline
- Occupational Safety and Health Administration. "Control of Silica Dust in Construction: Walk-Behind Milling Machines and Floor Grinders" (OSHA 3932, December 2017). https://www.osha.gov/sites/default/files/publications/OSHA3932.pdf
- U.S. Environmental Protection Agency. "Addressing Indoor Environmental Concerns During Remodeling." https://www.epa.gov/indoor-air-quality-iaq/addressing-indoor-environmental-concerns-during-remodeling
- Centers for Disease Control and Prevention. "Carbon Monoxide Poisoning Basics" (January 12, 2026). https://www.cdc.gov/carbon-monoxide/about/index.html
- North Carolina Department of Agriculture and Consumer Services. "Standards - Proper Storage of Propane Containers" (modified September 3, 2025). https://www.ncagr.gov/divisions/standards/lp-gas/lp-gas-faq-and-interests-consumers/standards-proper-storage-propane-containers
- U.S. Environmental Protection Agency. "Household Hazardous Waste (HHW)" (updated June 1, 2026). https://www.epa.gov/hw/household-hazardous-waste-hhw
- U.S. Environmental Protection Agency. "Volatile Organic Compounds' Impact on Indoor Air Quality" (updated June 23, 2026). https://www.epa.gov/indoor-air-quality-iaq/volatile-organic-compounds-impact-indoor-air-quality
- Occupational Safety and Health Administration. "1926.152 - Flammable liquids." https://www.osha.gov/laws-regs/regulations/standardnumber/1926/1926.152
- U.S. Consumer Product Safety Commission and U.S. Environmental Protection Agency. "The Inside Story: A Guide to Indoor Air Quality." https://www.cpsc.gov/Safety-Education/Safety-Guides/Home/The-Inside-Story-A-Guide-to-Indoor-Air-Quality
- North Carolina Department of Environmental Quality. "Household Hazardous Waste." https://www.deq.nc.gov/about/divisions/waste-management/solid-waste-section/special-wastes-and-alternative-handling/household-hazardous-waste
- Mecklenburg County Solid Waste and Recycling. "Household Hazardous Waste Disposal." https://wipeoutwaste.mecknc.gov/services/household-hazardous-waste-disposal
- U.S. Environmental Protection Agency. "Carbon Monoxide's Impact on Indoor Air Quality" (updated July 15, 2026). https://www.epa.gov/indoor-air-quality-iaq/carbon-monoxides-impact-indoor-air-quality