Lighting a Finished Garage So Cabinets and a Glossy Floor Read as One Room
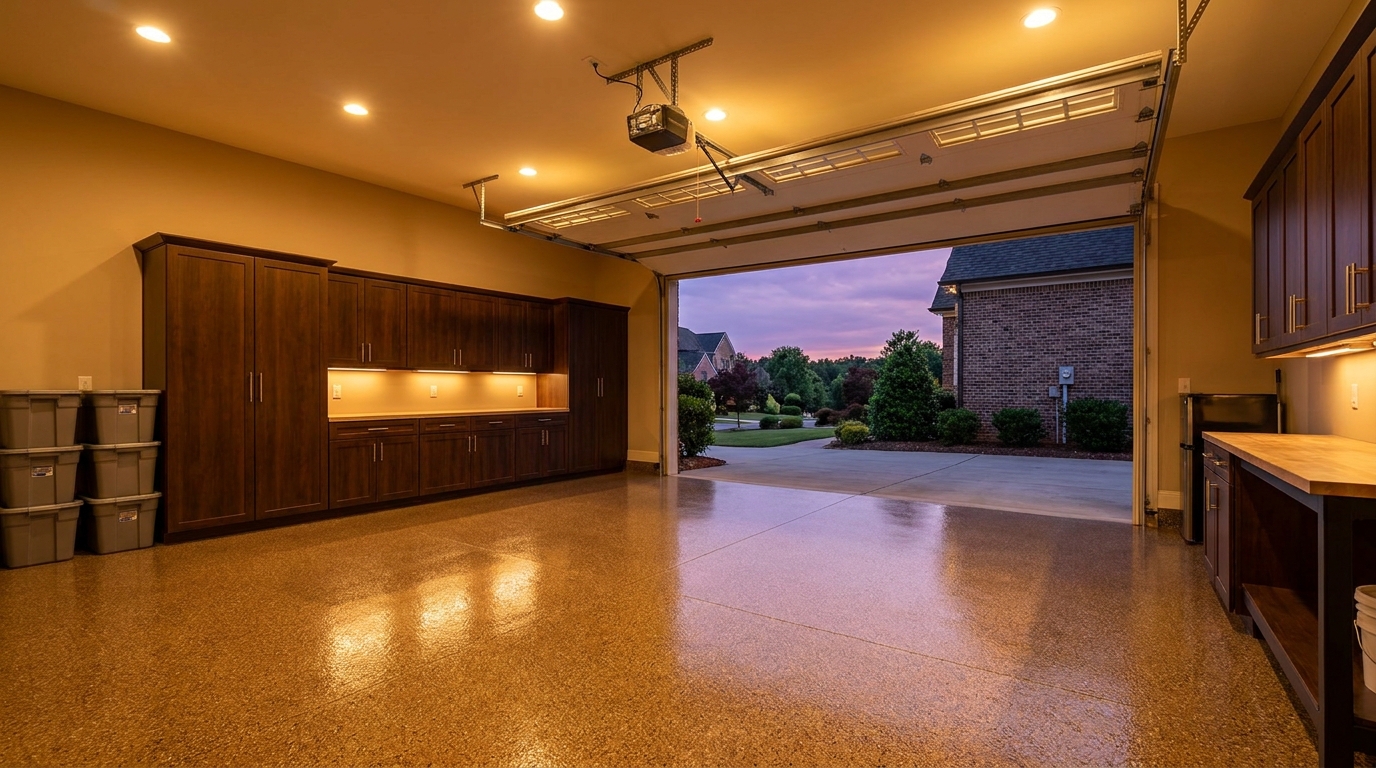
A finished garage reads as one room after dark when the ceiling lights, the cabinet-run lights, and the bounce off the coated floor share the same color of white light, with enough vertical light on the cabinet faces that the doors and the floor look designed together. A 2014 UC Davis lighting guide, drawing on Illuminating Engineering Society targets, lists about 5 footcandles for general garage light, about 5 footcandles on cabinet faces, and 40 footcandles at a manual workbench.[2] ENERGY STAR maps that work-space look to a neutral or cool white, roughly 3500K to 4100K, rather than a yellow living-room lamp.[1] Our team plans those layers with the cabinet finish and the glossy floor so the design you approved still holds when the door is closed.
After dark, the room still has to look finished
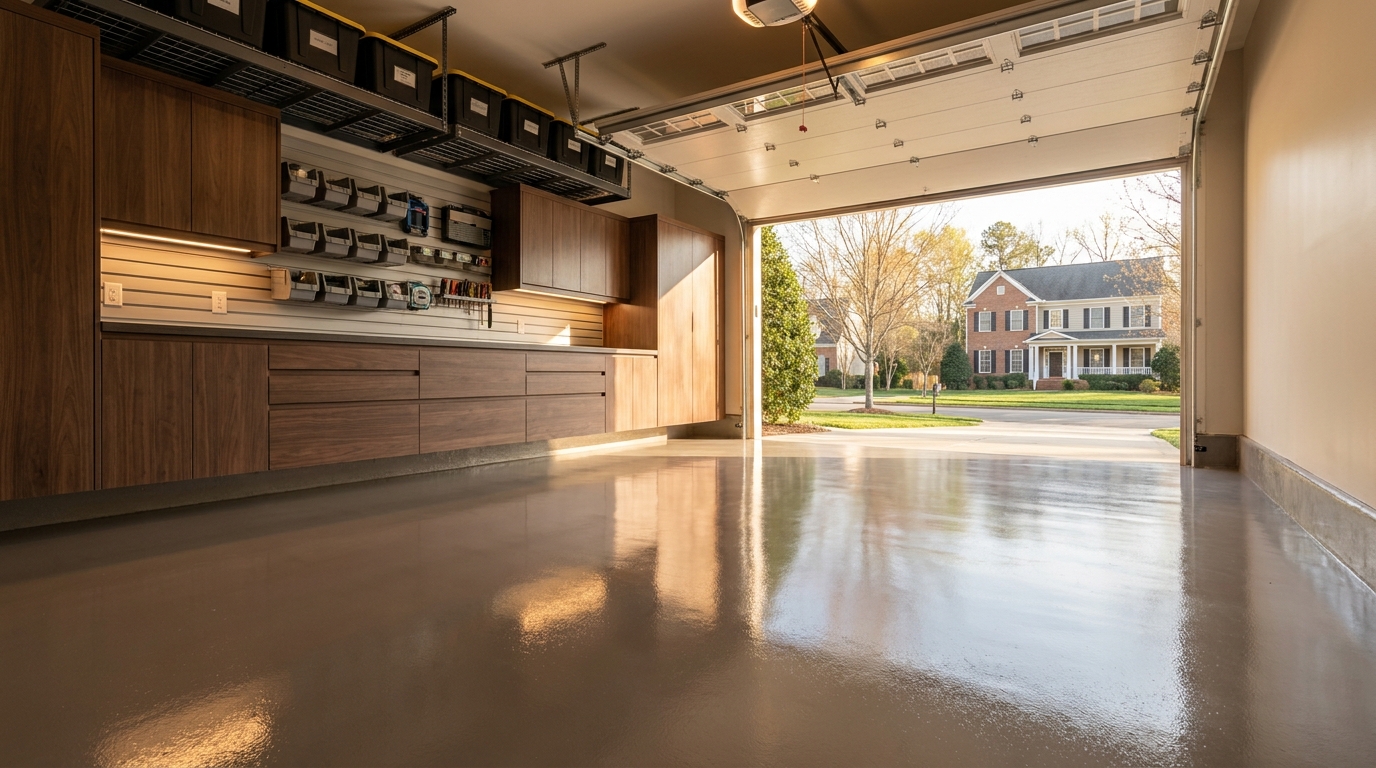
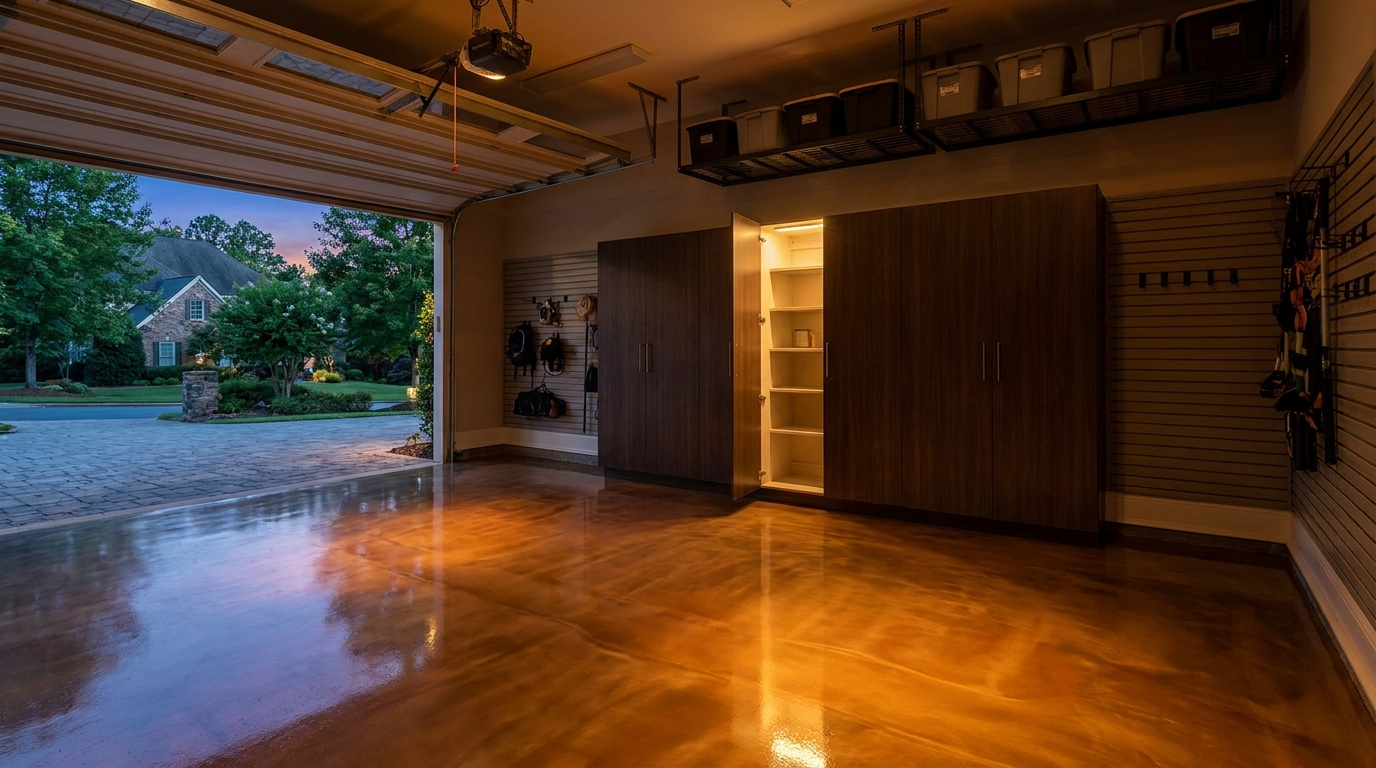
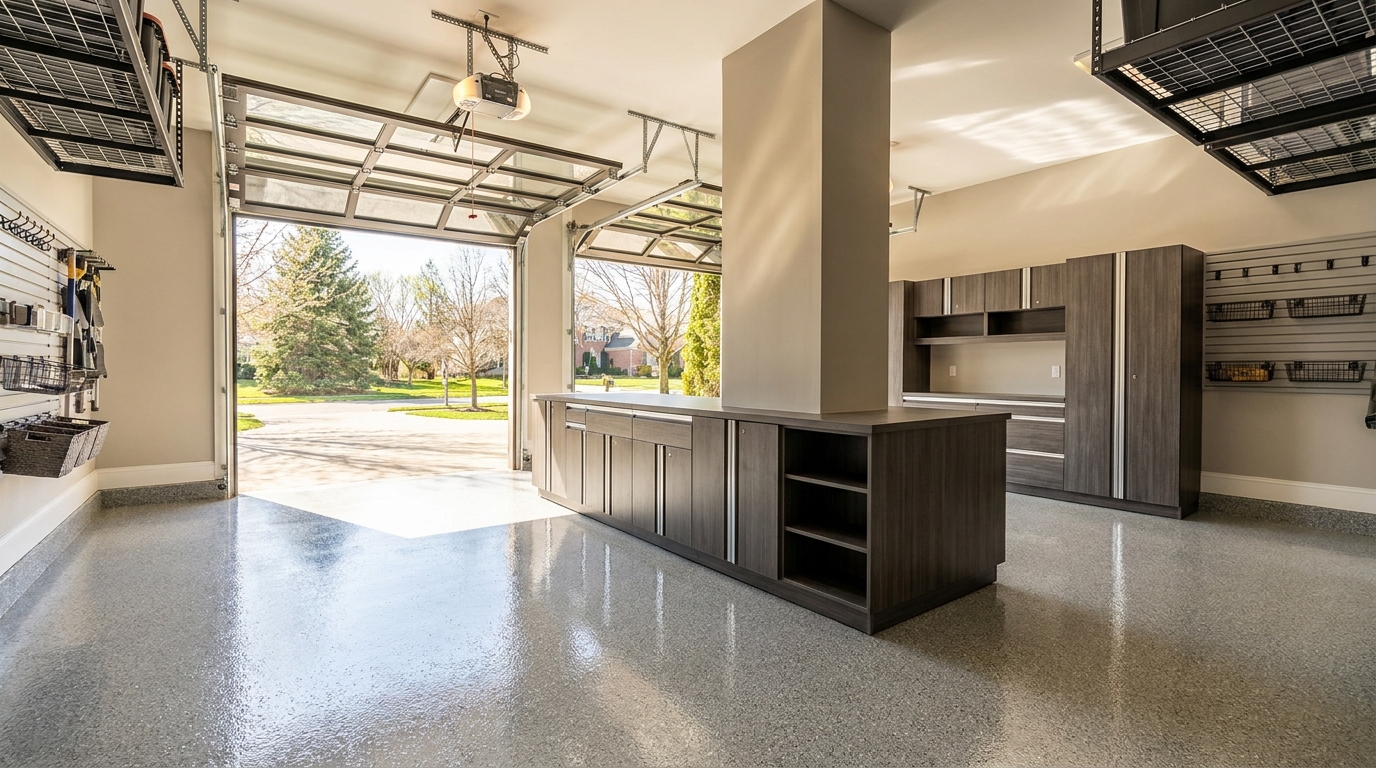
The best Charlotte garages we install are rooms you want to walk into at 8 p.m. as much as at noon. Upper and base cabinets line a wall. Decorative chips in the coated floor pick up the cabinet color. When the overhead door is open, daylight does a lot of that work for you. When it closes, garage lighting design takes over.
That is a design decision, not a last-minute fixture run. Our coordinated design process already treats cabinets, storage, and flooring as one system. Lighting belongs in that same conversation. If the ceiling is a pair of leftover builder cans and the floor is a high-gloss coating, the room can look bright in a photograph taken from the driveway and oddly split once you are standing inside after dark: a hot puddle on the slab, dark cabinet faces, and a worktop in shadow.
The Illuminating Engineering Society’s residential recommended practice covers quantity and quality of light, color, methods, and controls, and it was updated again in 2026.[7] The idea behind it is simple: enough light, in the right places, of a color that makes the finishes look like themselves.
Ambient light, task light, and light on the cabinet faces
A 2012 U.S. Department of Energy Building America lighting guideline, drawing on the IES Lighting Handbook, treats home lighting as layers. Ambient light is what you use to move through a room. Task light is what you use at a counter or bench. Accent light is what you use to give surfaces depth. The same guide lists a general garage target of 5 footcandles horizontal and 5 footcandles vertical, and it lists 5 footcandles of vertical light on kitchen cabinet faces as a separate line from the 50 footcandles it assigns to a prep counter.[3]
That split is the whole story of a finished garage. A coated floor can look brilliantly lit while the cabinet run along the wall looks dull, because the downlights are aimed at the slab and the doors sit in their own shadow. The UC Davis guide, again citing IES, keeps that 5-footcandle cabinet-face target and then raises the garage numbers where the work gets finer: about 20 footcandles for vehicle maintenance at 3 feet above the floor, and about 40 footcandles at a manual workbench.[2]
Those numbers are a map of where light has to land, not a catalog of shop-light wattages. General ambient light can sit near the lower IES garage target and still feel generous if it is even. A worktop under upper cabinets needs a dedicated layer. The DOE guideline notes that a kitchen counter with under-cabinet lights can measure 20 to 90 footcandles, depending on the fixture and the distance.[3] A garage worktop is the same geometry: a horizontal task plane under a cabinet soffit, plus vertical faces that need their own light or they go gray.
In practice, we think in three placements:
- Ceiling fixtures that spread ambient light across the bays and the walking lanes, close enough together that you do not get bright coins on the floor and dark aisles between them.
- Linear task lighting at the cabinet run, mounted toward the front of the uppers so it hits the worktop and the backsplash zone instead of washing the wall behind the cans of paint.
- A little light that grazes or softly fills the cabinet doors themselves, so the finish, the hardware, and the grain (or the metal pattern) read as part of the room.
One opener lamp in the middle of the ceiling cannot do those three jobs. It was never meant to.
A glossy floor is part of the lighting, not just the floor
A polyurea coated floor with a full chip broadcast and a clear top coat is a finished-room surface. It is also a reflector. Light that hits it does not only stay on the slab. Some of it bounces up onto base cabinets, the lower third of the walls, and the faces of anyone standing in the bay.
That bounce is useful. A light-colored chip blend can lift the lower cabinets the way a light kitchen floor lifts the toe-kick line. It is also unforgiving. A glossy or high-sheen top coat behaves more like a quiet mirror than like carpet. A bare lamp, a bright high-bay, or a fixture with a tiny, intense LED cluster can print itself as a hot streak in the floor. You notice it most when you are standing in the typical viewing spots: at the interior door, at the worktop, or looking down the bay toward the cabinets.
The DOE Building America guideline treats glare as brightness that causes discomfort, and it treats glare control as part of high-performance residential lighting, not as an extra.[3] On a glossy garage floor, the practical version of that idea is simple. Use more fixtures at moderate output instead of two blazing ones. Choose lenses or diffusers so the source is a glowing rectangle, not a pinpoint. Keep the brightest lamps out of the reflections you will see from the house door and from the worktop. If you want sparkle in the chips, you can have it. You get it from even, overlapping light, not from one lamp so bright it turns the floor into a spotlight.
This is also why we like to talk about lighting while the floor blend and the cabinet finish are still on the table. A darker chip blend absorbs more downward light and needs a little more ambient output, or a lighter cabinet face, to keep the room from going cave-like at night. A paler blend returns more light to the cabinets.
One color of white light across every fixture
Color temperature is the warmth or coolness of the light itself, measured in kelvin. ENERGY STAR’s 2020 consumer guide is still the clearest public map: lower kelvin is warmer and more yellowish, higher kelvin is cooler and bluer. Soft white and warm white sit toward the indoor, living-room end of the scale. Neutral white and cool white, around 3500K to 4100K, are listed as a good match for kitchens and work spaces. Daylight, 5000K to 6500K, is listed for reading and is the “blue sky at noon” end of the chart.[1]
A finished garage is both a work space and a room that opens off the house. If the ceiling is 5000K “daylight” shop light and the under-cabinet tape is 2700K warm white, the cabinet doors and the glossy floor will not look like they belong to the same design. One layer will make the chips look icy. The other will make a warm wood-look door look orange. The mismatch is obvious the moment the overhead door shuts and daylight stops mixing the two.
The 2014 UC Davis guide makes the same point from the product side. Specifying lamps and luminaires with similar color appearance helps wall colors, carpeting, and other materials look consistent, especially in adjoining spaces. California’s 2013 residential energy standards, which that guide explains, also required indoor LED luminaires classified as high-efficacy to land between 2700K and 4000K, a band that covers both a warm house look and a clean kitchen look.[2]
For most of our Charlotte projects, we steer garage lighting design into that same band and we keep every layer on one number. A cabinet run in Timber Gray or Slate with a cooler chip blend often looks honest around 3500K to 4000K. A warmer wood-look door with a tan or granite-leaning floor often looks better around 3000K to 3500K. The exact pick is a finish conversation, not a hardware-store default. What matters is that the ceiling, the cabinet lighting, and any toe-kick or display lighting all say the same kelvin on the label.
ENERGY STAR also asks you to shop by lumens (brightness) rather than watts. In its 2020 chart, 800 lumens matches an old 60-watt bulb and 1,600 lumens matches 100 watts, delivered with far less energy.[1] That is how you get overlapping ambient light for a two-car bay without the heat of old incandescent cans.
Color rendering that keeps the finishes honest
Color temperature is the color of the light. Color rendering is how the light treats the colors of the objects it hits. The color rendering index (CRI) scores that behavior against a reference, with 100 as the top of the scale. UC Davis describes CRI as the industry standard for how accurately a source renders object colors, and it notes that LED sources with a CRI of 90 or higher were required for certain permanently installed indoor LED luminaires under the 2013 California standards.[2]
ENERGY STAR’s lamps specification is more modest as a floor. Certified solid-state lamps must have a general CRI (Ra) of at least 80, and a positive R9 value, the red-rendering number that a simple CRI average can hide.[4] For a garage whose cabinet doors, hardware, and chip blend were chosen from samples in daylight, 90 or better is the number that keeps the approved design from shifting once the electric lights come on.
CRI is also only part of the story. A 2022 Pacific Northwest National Laboratory tutorial for the U.S. Department of Energy explains color rendition as the influence of a light source on the color appearance of objects and surfaces after that light is reflected and processed by the eye. The older CRI method is narrowly focused on average color fidelity. Two sources can score similarly on CRI and still make a room look different, because fidelity does not describe whether colors look dull, punchy, or natural.[5] A 2019 DOE-funded PNNL study of 90 lighting conditions found substantial differences in preference even among scenes with roughly equal color fidelity, which is why IES TM-30 adds preference, vividness, and fidelity as separate goals.[8]
You do not have to specify TM-30 by name on a residential garage. You do want sources that render reds and warm woods without going muddy, and you want every fixture in the same quality family. Mix a high-CRI cabinet linear with a low-CRI ceiling shop light and the floor chips will not match the door sample you signed off on. Match them, and the glossy floor, the cabinet faces, and the worktop read as one material story.
TM-30’s color-preference guidance is written for typical interior light levels of 200 to 700 lux (about 19 to 65 footcandles) when the space has a variety of colors.[5] A garage sitting only at the 5-footcandle general target is below that band. A workbench at 40 footcandles, and a well-lit cabinet run, sit inside it. That is another reason to treat the cabinet wall as a real interior, not leftover parking light.
A layout that treats the garage like a real room
Once color and quality are locked, layout is what makes the room feel whole.
Start with the ceiling. In a typical two-car garage, a small grid of diffused LED wraparounds or low-profile panels beats a single bright point. Space them so their beams overlap at about 3 to 4 feet above the floor, where you actually see the cars, the walking path, and the lower cabinets. If the ceiling is low, flush or surface-mounted fixtures with a wide, soft distribution keep headroom and reduce the “lamp in the floor” effect.
Then light the cabinet run the way a kitchen is lit. Linear LED under the uppers, on its own switch or dimmer, puts task light on the worktop and sends a controlled wash onto the backsplash zone. Mounted toward the front of the cabinet, it is less likely to glare in a shiny worktop or in the floor just in front of the bases.
Put ambient and task on separate controls. A finished garage has an evening mode (walk through, find a bag) and a project mode (stand at the worktop). Dimming the ceiling while the cabinet lighting stays on keeps the room looking designed. LED sources make that practical. The Department of Energy’s Solid-State Lighting Program notes that traditional lamps have little room left to get more efficient, while LED technology still has headroom, and that LED products tied to DOE-funded work have contributed to an estimated 185 billion kWh in annual U.S. energy savings.[6] ENERGY STAR’s 2020 guide puts the consumer version simply: certified LED bulbs deliver the same lumens with up to 90 percent less energy than the old wattage they replace.[1]
Have a licensed electrician size the circuits and the switching. The brief from our side is the layout, the kelvin, the CRI, and which layers dim together. When those pieces are in place, the after-dark room matches the 3D rendering because someone planned the light, the cabinets, and the floor as one composition.
Practical takeaways
- Plan garage lighting design with the cabinet finish and the floor blend, not after both are installed. The glossy floor will bounce whatever you put on the ceiling.
- Light three planes: the floor and walking lanes (ambient), the worktop (task), and the cabinet faces (vertical). IES-based residential targets treat cabinet faces and general garage light as separate numbers, not one overhead average.[2][3]
- Keep every fixture on one color temperature. For a finished garage that has to feel like the house and still work like a shop, stay in the 3000K to 4000K band and match the number to the finish palette.[1][2]
- Specify high color rendering (CRI 90 or better, with a healthy red/R9) so wood-look doors, metal patterns, and chip blends look like the samples you approved.[2][4]
- Use several diffused ceiling fixtures instead of two harsh high-output lamps, so the coated floor glows instead of mirroring the bulbs.
- Put ambient and cabinet lighting on separate dimmers. Shop by lumens and labeled kelvin, not by old wattage.[1]
How we can help
Our team designs Charlotte garages as finished rooms: cabinet runs, coated floors, and the light that makes both read as one space after dark. We measure the garage, set the finish palette, and talk through fixture layers so the 3D view you approve is the room you walk into at night. Have more questions or want to get in touch? Contact us
Citations
- ENERGY STAR / U.S. EPA, "LED Bulbs Made Easy / Light Bulb Purchasing Guide" (2020-03-16)
- California Lighting Technology Center, UC Davis, "High-Efficacy Residential Lighting: LED lighting for single-family and multi-family homes" (2014)
- U.S. Department of Energy, Building America / IBACOS, "Strategy Guideline: High Performance Residential Lighting" (2012-02)
- ENERGY STAR, "ENERGY STAR Program Requirements for Lamps (Light Bulbs) Eligibility Criteria Version 2.1" (2017)
- Pacific Northwest National Laboratory / U.S. Department of Energy, "Tutorial: Background and Guidance for Using the ANSI/IES TM-30 Method for Evaluating Light Source Color Rendition" (2022)
- U.S. Department of Energy, Solid-State Lighting Program, "About the Solid-State Lighting Program" (page current as of 2026)
- Illuminating Engineering Society, "Recommended Practice: Lighting for Interior and Exterior Residential Environments (ANSI/IES/ALA RP-11-26)" (2026)
- U.S. Department of Energy / Pacific Northwest National Laboratory, "New Study Validates Color Rendition Specification Criteria Based on TM-30" (2019-10-18)