Cove Base on a Coated Floor So the Room Has No Raw Concrete Edge
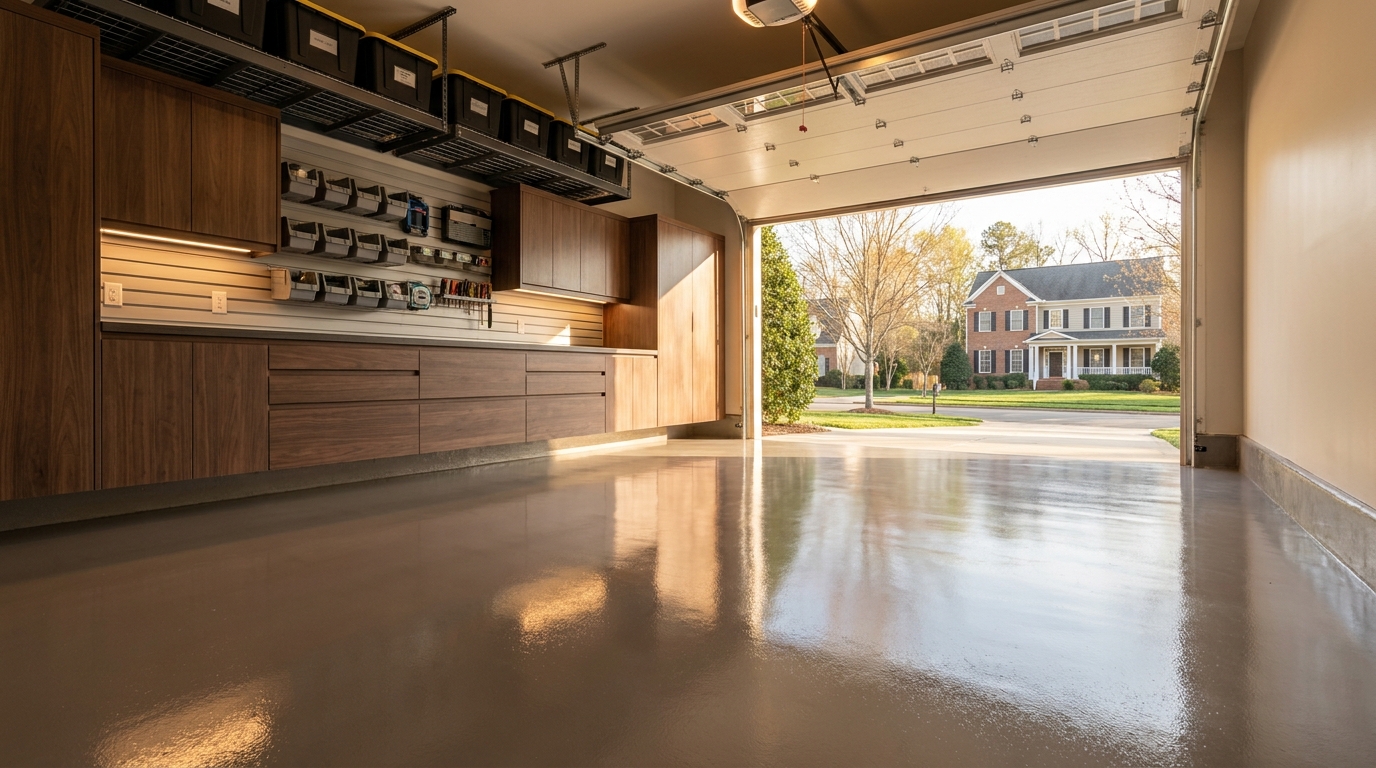
A garage floor cove base is the moment the coating leaves the slab and turns up the wall. The glossy plane does not stop at a raw concrete edge. It curves into a small radius, climbs a few inches of drywall or block, and meets the cabinet line as one finished surface. That is the detail you notice when you walk into a room that feels complete, the same kind of continuous, coved edge the 2022 FDA Food Code specifies for food establishments and that commercial kitchens and labs use so the junction can actually be cleaned.[1][2]
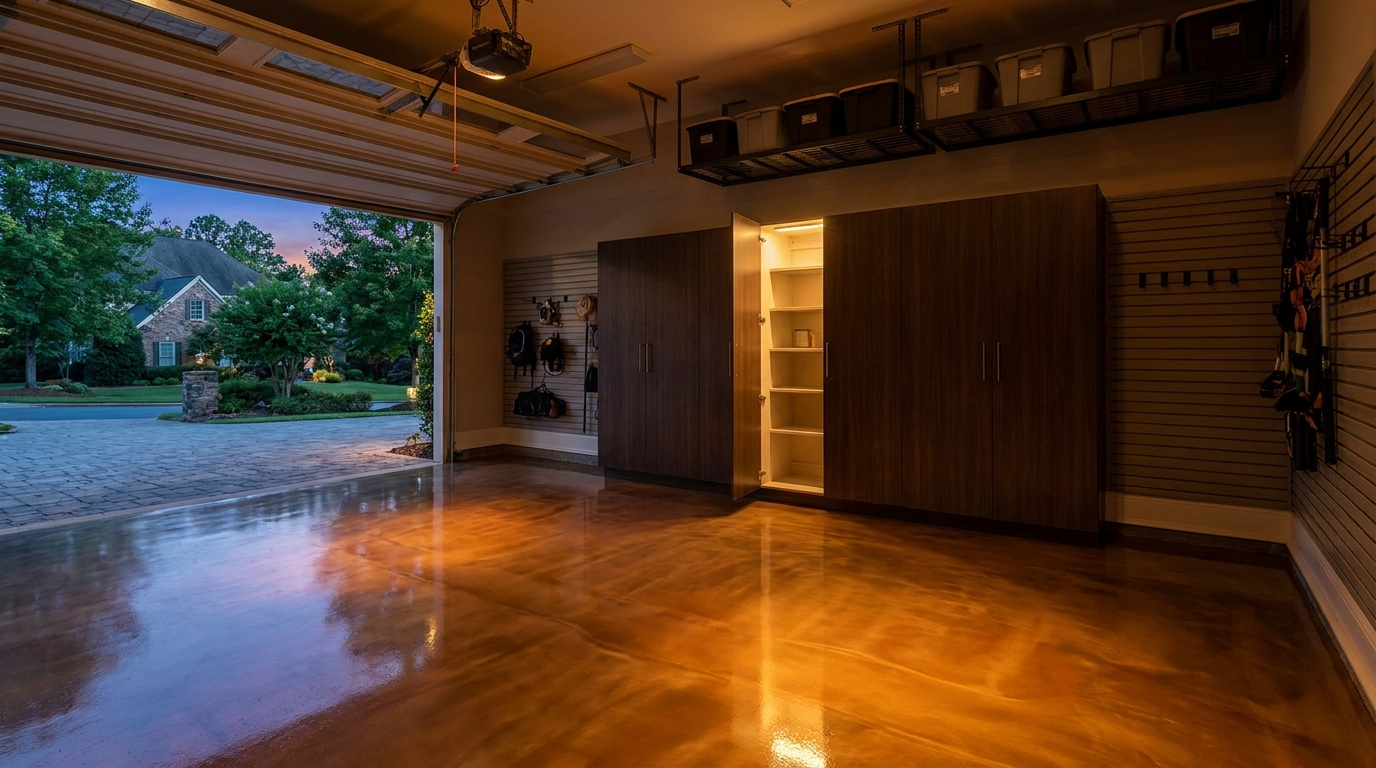
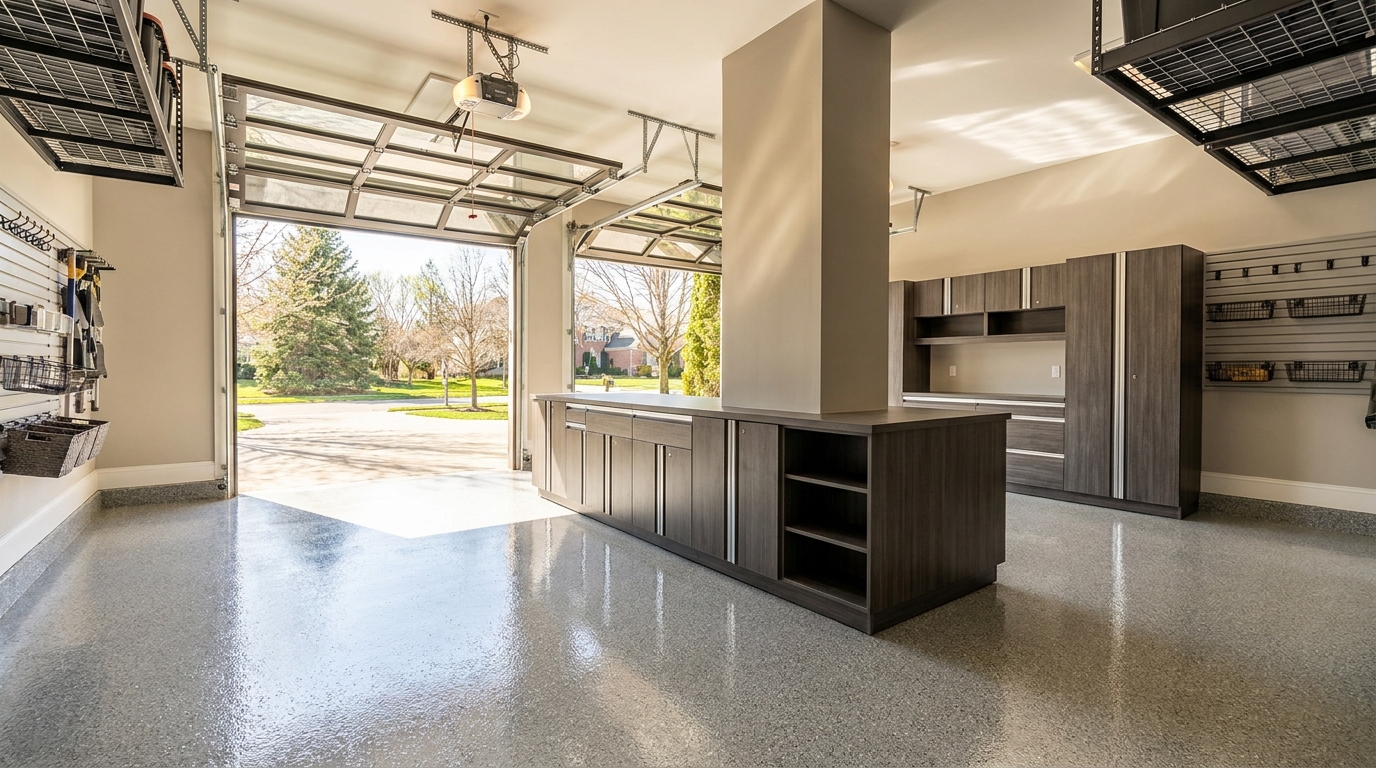
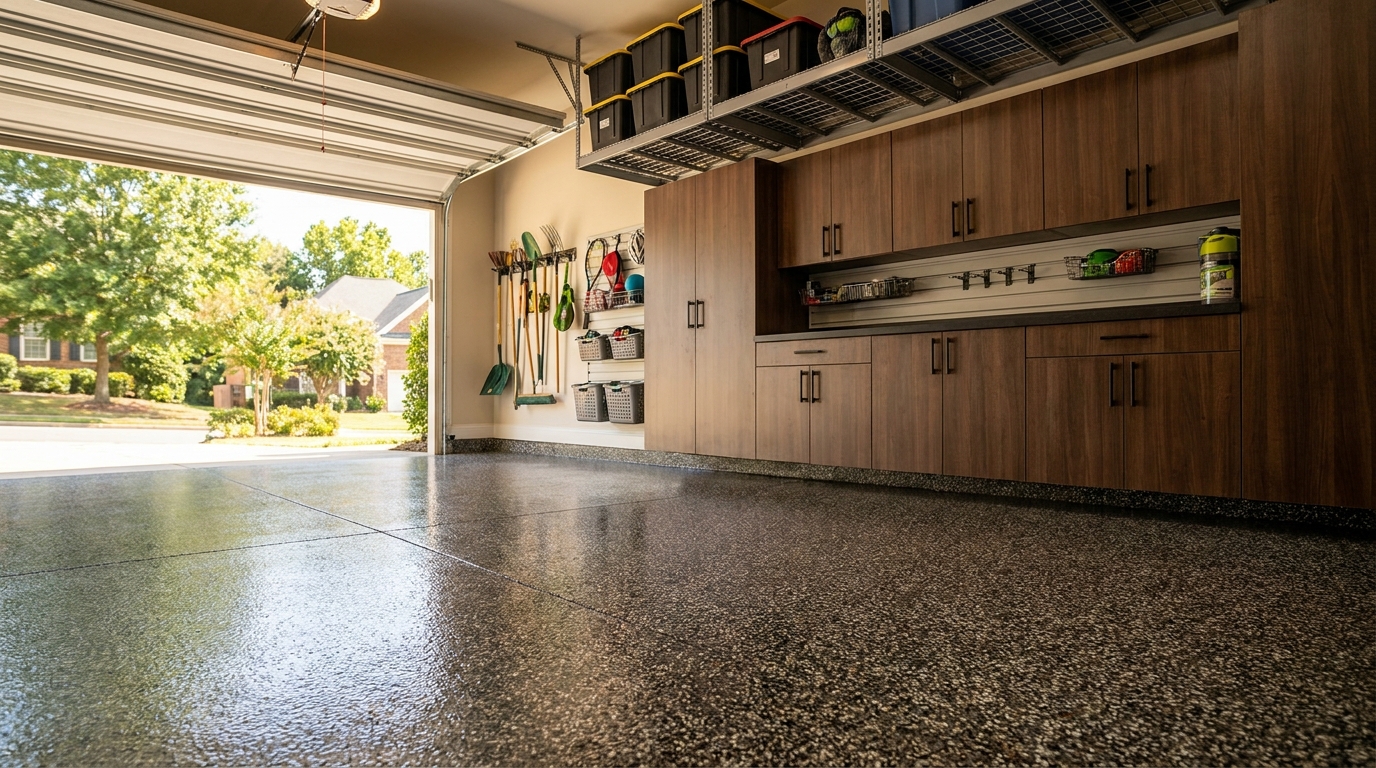
In a Charlotte, Waxhaw, or Monroe garage, the cove is a design decision, not a repair. Our team builds the floor as part of a finished room: cabinets on the wall, storage in its place, and a coated field that reads all the way to the base of the millwork. When the coating coves, mop water, dust, and the visual line all stop at a curve instead of a square corner of raw slab.
What a garage floor cove base actually is
Think of the floor as a plane that needs an edge. A builder-grade slab meets the wall at a 90-degree inside corner. Paint the wall, coat the floor, and that corner is still two materials butting into each other, with a thin line of raw concrete if the coating stops short. A garage floor cove base closes that line. We trowel a vertical-grade coating mortar at the junction, tool it with a cove trowel so the profile is a concave radius, and then carry the same decorative system (primer, chip, top coat) up that curve so the color of the floor continues onto the wall.
The result is an integral cove, meaning the base is formed from the floor system itself rather than a separate strip of vinyl or rubber glued on later. Coating manufacturers describe that distinction clearly: a traditional cove base is trim applied after the floor, while an integral cove is built as part of the resinous system so the floor and wall share one continuous transition.[3] In a residential garage, that is the difference between a coated slab and a finished room.
The cove does three things at once. It hides the slab edge. It gives a mop or a shop rag a curve to follow instead of a square corner that holds grit. And it gives the cabinets and drywall a clean line to sit against, so the room photographs and lives as one composition.
How a cove is formed: radius, height, and the tool that makes the curve
Two numbers define the profile: radius and height.
The radius is the curve at the floor-to-wall turn. Coating manufacturers in the United States commonly specify a 3/4-inch or 1-inch radius for resinous coves, large enough that a squeegee or a cloth can stay in contact through the transition.[3] That curve is not decorative frosting. A square inside corner is hard to wipe. A too-tight radius behaves like a square corner. The radius is the part you feel with a gloved hand when the work is done.
The height is how far the coating climbs the wall. Manufacturer guidance and installer practice typically tool coves with 4-inch and 6-inch cove trowels, and a tape line or a metal cove strip sets a straight top edge at that height.[3] In a home garage, four inches is often enough to clear the visual slab edge and sit comfortably under wall-mounted cabinets. Six inches reads more like a commercial kitchen and can be the right call when the wall will take more washdown, or when you want the coated plane to rise clearly above a cabinet kick. We set height on site against the millwork, the drywall, and the way you actually use the bay.
The material is a thixotropic (non-sag) mortar mixed for vertical work. It is primed onto prepared concrete and the lower wall, hawked onto the junction, and closed with a cove trowel so the radius is consistent down the run. Inside and outside corners take extra time because the radius has to turn in three dimensions. A good cove is judged by a consistent height, a consistent radius, and a surface smooth enough that a glove does not snag.[3] After the mortar cures, we sand and then carry the decorative chip system and the clear top coat up the cove so the floor color and the wall color are the same plane.
Under that mortar is the same mechanically prepared concrete that the field of the floor receives. The International Concrete Repair Institute's Technical Guideline 310.2R-2013 remains the industry language for selecting and specifying that preparation for sealers, coatings, and polymer overlays, including a set of concrete surface profile (CSP) chips used to describe how rough the prepared slab should be.[4][5] Our garage flooring work starts with diamond grinding, crack and joint filling, and a vacuumed slab. The cove is not an afterthought glued to paint. It bonds to that prepared substrate at the same time the field of the floor does.
On the live flooring page we describe the coating stack as a polyurea system: diamond-ground concrete, a polyurea or epoxy base coat, a full broadcast of decorative chips, and a polyurea top coat. Our homepage FAQ also describes the typical hybrid we install as an epoxy primer for adhesion, a decorative chip broadcast, and a polyaspartic top coat. Either way, the cove is formed first as a mortar, then those same layers continue up the radius so the chip blend on the wall matches the chip blend on the floor.
Why a finished residential garage deserves this edge
A garage in Mecklenburg or Union County is no longer a leftover room. Homeowners in Charlotte, Waxhaw, and Monroe ask us for a space they are proud to open: custom cabinets, overhead storage, slatwall, and a coated floor that looks like it belongs with the rest of the house. The cove is the quiet line that makes those pieces read as one interior.
Mopping is the practical half of that story. The 2022 FDA Food Code, the model code many health departments use for retail food establishments, requires floor and wall junctures to be coved. Where floors are cleaned by methods other than water flushing, the juncture must be coved and closed to no larger than 1 mm (one thirty-second inch). Where water-flush cleaning is used, the juncture must be coved and sealed, and the floor graded to drain.[1] The public-health annex to that section is blunt about why: coving gives a surface that water flushing can actually clean, and it keeps liquid from pooling in a square corner.[6] A home garage is not a food establishment, and we do not treat it as one. The design idea is the same. A continuous, coved junction is the version of the floor that is easy to keep looking finished.
Federal sanitary-design language points in the same direction. USDA's sanitation rules for inspected establishments require walls, floors, and ceilings to be built of durable materials that are impervious to moisture and that can be cleaned as needed.[7] FDA's current good manufacturing practice for food plants requires the building to be constructed so floors, walls, and ceilings may be adequately cleaned, kept clean, and kept in good repair.[8] Those rules are written for plants, not for a two-car bay in Ballantyne. They are useful here because they name the quality a finished garage is chasing: a floor you can actually wash, an edge that does not collect grit, and a wall junction that stays looking like part of the room.
There is also a visual reason that has nothing to do with a health inspector. A raw slab edge at the base of new cabinets is the tell that the floor and the millwork were never designed together. A coved coating that meets the cabinet line is the tell that they were. Afternoon light through an open overhead door will show that line every day. We would rather it show a curve of the same chip blend than a strip of gray concrete.
Where the cove meets cabinet kicks and wall-mounted boxes
The cove has to land against real millwork, not an empty wall. Our cabinet systems are designed as wall-mounted boxes with optional legs, which keeps the floor clear for cleaning and keeps moisture and dust from collecting under a cabinet base. That layout is a gift to a coved floor. The coating can turn up the wall behind and below the boxes, the cabinets hang on the studs above the cove, and the glossy plane continues under the run.
Where a toe kick or a set of legs meets the floor, we treat the junction as a designed termination, not a leftover gap. Options we walk on site include:
- Running the cove the full perimeter, including behind wall-mounted cabinets, so the coated plane is continuous even where you do not see it every day.
- Terminating the cove at the face of a kick, with a tooled edge that meets the millwork rather than disappearing into a raw slab shadow.
- Leaving a small, planned reveal at legs so you can mop under the box without fighting a square concrete corner.
The goal is the same in each case. The eye should travel from the field of the floor, through the radius, and into the cabinet line without a raw concrete interruption. If a wall-mounted box sits an inch or two off the wall, the cove still belongs on the wall behind it. If a workbench run has a closed kick, the cove should meet that kick as if the millwork and the floor were drawn on the same sheet.
Corners, columns, and the side of the overhead-door opening get the same attention. A cove that is beautiful on the long wall and then squares off at a column is only half a detail. We carry the radius around inside and outside corners so the room has one language at every junction.
The industry language behind the detail
When we talk about a garage floor cove base, we are borrowing a specification language that coating and sanitation documents have used for a long time.
ICRI Technical Guideline 310.2R-2013, still the current surface-preparation guideline sold by the Institute, is the document specifiers use to call for a clean, sound, profiled concrete surface before a coating goes down. It describes evaluation of the substrate, selection of a preparation method, and a CSP range that can be checked against physical chips on site.[4][5] A 2014 ICRI Concrete Repair Bulletin introduction to that guideline is direct about the stakes: poor surface preparation can lead to failure of the protective system, further repairs, added expense, and loss of use.[5] The cove is part of that protective system. It only belongs on concrete that has been prepared with the same care as the field.
ICRI's later joint report with AMPP, Technical Guideline 710.1R-2023, "Design, Installation, and Maintenance of Protective Polymer Flooring," is the 2023 reference for polymer flooring systems bonded directly to concrete. It is written for manufacturers, specifiers, applicators, and facility owners who specify those systems.[9] A residential garage coating is a polymer flooring system in that sense. The cove is one of the details that report's audience would expect to see drawn when the floor is meant to perform as a finished, maintainable surface.
Manufacturer application notes fill in the craft. Integral cove is tooled, not peeled off a roll. Thickness is kept modest (on the order of 1/8 inch) so a vertical mortar does not sag, especially at six inches of height. A tape line gives a clean top edge when the cove meets painted drywall. A cove strip is the better termination when the cove has to meet a thicker wall finish.[3] We choose the termination to match the wall we actually have in your garage.
None of this is a claim that your garage must meet a food-plant inspection. It is a claim that the finished dream (an organized, beautiful, usable garage) has an edge detail, and that the edge detail already has a name, a geometry, and a set of documents behind it.
Practical takeaways
- Ask for an integral cove, not a glued vinyl base, if you want the coating itself to turn up the wall. The floor color and the wall color should be the same plane.[3]
- Decide radius and height on purpose. A 3/4-inch to 1-inch radius is the common U.S. manufacturer range. Four inches of height is a natural residential line under wall-mounted cabinets. Six inches reads more architectural and is the other standard trowel size.[3]
- Plan the cove against the cabinets, not after them in your head. Wall-mounted boxes with a clear floor below are the layout that lets the glossy plane continue under the run.
- Treat inside corners, outside corners, and columns as part of the same detail. A cove is only as finished as its weakest corner.
- The cove bonds to prepared concrete. ICRI 310.2R-2013 is the language for that preparation, and diamond grinding plus joint work is how we open the slab before any mortar or coating goes on.[4][5]
- The cleanability argument is not a scare. It is the same reason kitchens and labs cove the junction: a curve you can actually wipe, closed tightly enough that the corner does not become a dirt trap.[1][6]
- Walk the room in afternoon light before you sign off on the design. The line where floor meets wall is what you will see every time the door is up.
How we can help
Our team designs the garage as a finished room for homeowners across Charlotte, Waxhaw, Monroe, and the rest of Mecklenburg and Union counties. Custom cabinetry, garage flooring in polyurea and epoxy chip systems, slatwall, overhead storage, and the edge details that make those pieces read as one interior. A garage floor cove base is one of those details. We will measure the walls, the cabinet layout, and the slab, then show you how the coating can turn up to meet the millwork so the room has no raw concrete edge.
Have more questions or want to get in touch?
Citations
[1] U.S. Food and Drug Administration, Food Code 2022, §6-201.13 Floor and Wall Junctures, Coved, and Enclosed or Sealed. https://www.fda.gov/food/fda-food-code/food-code-2022
[2] U.S. Food and Drug Administration, Food Code 2022, §6-201.11 Floors, Walls, and Ceilings (smooth and easily cleanable). https://www.fda.gov/media/164194/download
[3] Sherwin-Williams High Performance Flooring, "Understanding Integral Cove Base." https://industrial.sherwin-williams.com/na/us/en/resin-flooring/media-center/articles/understanding-integral-cove-base.html
[4] International Concrete Repair Institute, Technical Guideline 310.2R-2013, Selecting and Specifying Concrete Surface Preparation for Sealers, Coatings, Polymer Overlays, and Concrete Repair. https://store.icri.org/item/3102r2013-english-pdf-selecting-concrete-surface-preparation-sealers-coatings-polymer-overlays-concrete-repair-342521
[5] Pat Winkler, "Introduction to ICRI Technical Guideline No. 310.2R-2013," Concrete Repair Bulletin, May/June 2014. https://www.icri.org/wp-content/uploads/2024/04/CRBMayJun14_WInkler.pdf
[6] U.S. Food and Drug Administration, Food Code 2022, Annex 3 Public Health Reasons, §6-201.13. https://www.fda.gov/media/164194/download
[7] 9 CFR § 416.2(b)(2), Establishment grounds and facilities (USDA FSIS sanitation: walls, floors, and ceilings of durable materials impervious to moisture). https://www.ecfr.gov/current/title-9/chapter-III/subchapter-E/part-416/section-416.2
[8] 21 CFR § 117.20(b)(4), Plant and grounds (FDA CGMP: floors, walls, and ceilings may be adequately cleaned and kept in good repair). https://www.ecfr.gov/current/title-21/chapter-I/subchapter-B/part-117/subpart-B/section-117.20
[9] International Concrete Repair Institute, Technical Guideline 710.1R-2023, Design, Installation, and Maintenance of Protective Polymer Flooring. https://store.icri.org/item/7101r2023-pdf-design-installation-maintenance-protective-polymer-flooring-713841