Garage Floor Before Cabinets for One Color, One Edge
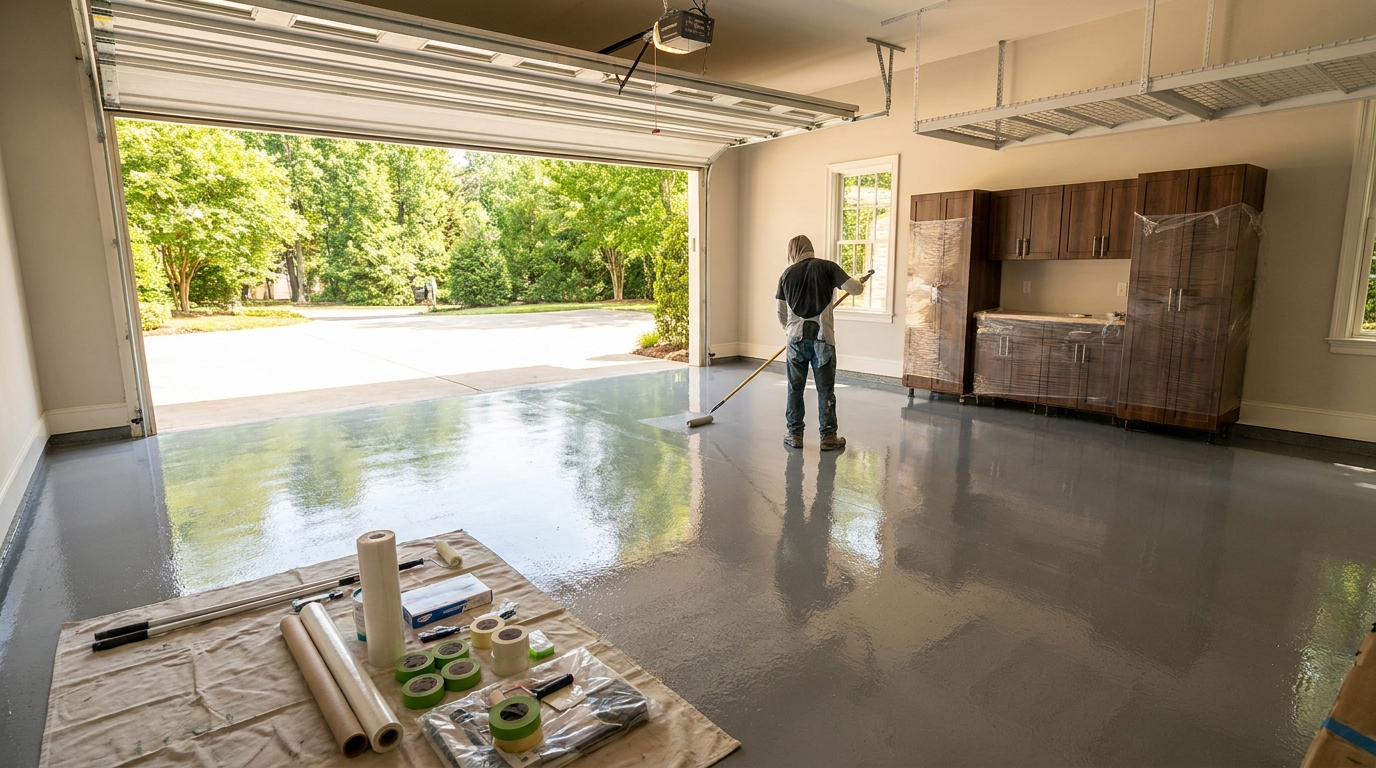
We coat the garage floor before cabinets so the kicks, the end panels, and the glossy plane share one color and one edge. The finished room reads as a single surface that runs wall to wall, then the boxes land on it. That order is a design choice about how the room will look and live, not a workaround for a problem. It is also a different decision from coating around cabinets years later, and a different decision from picking a chip blend to echo a door color.
One color, one edge
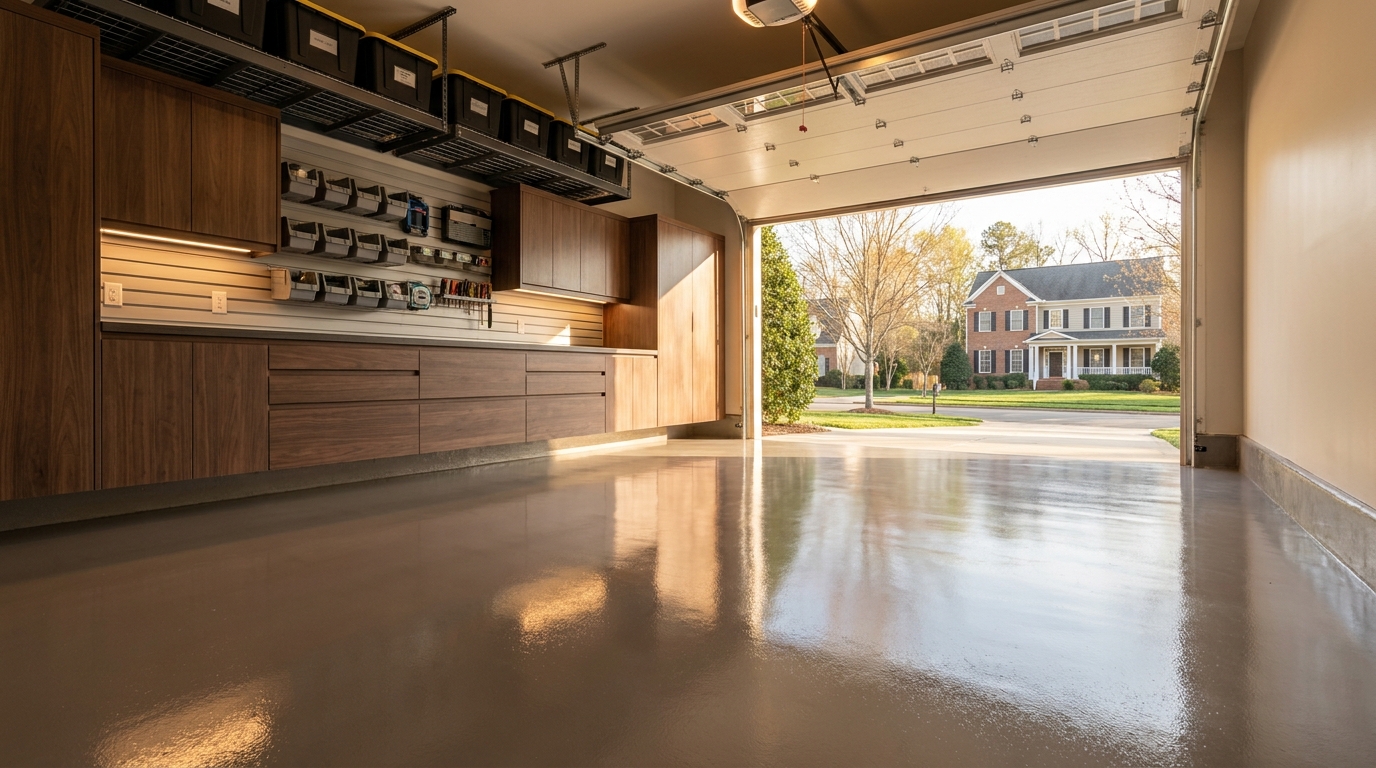
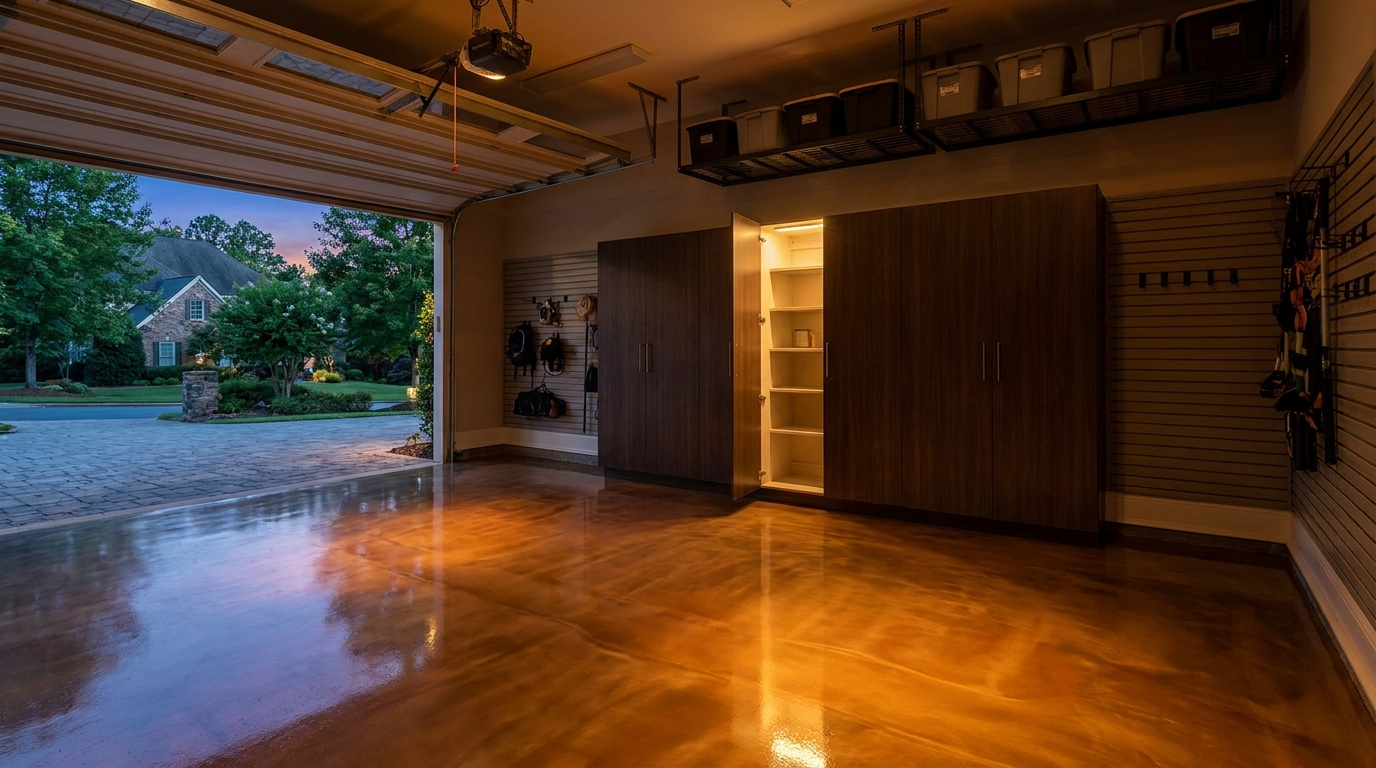
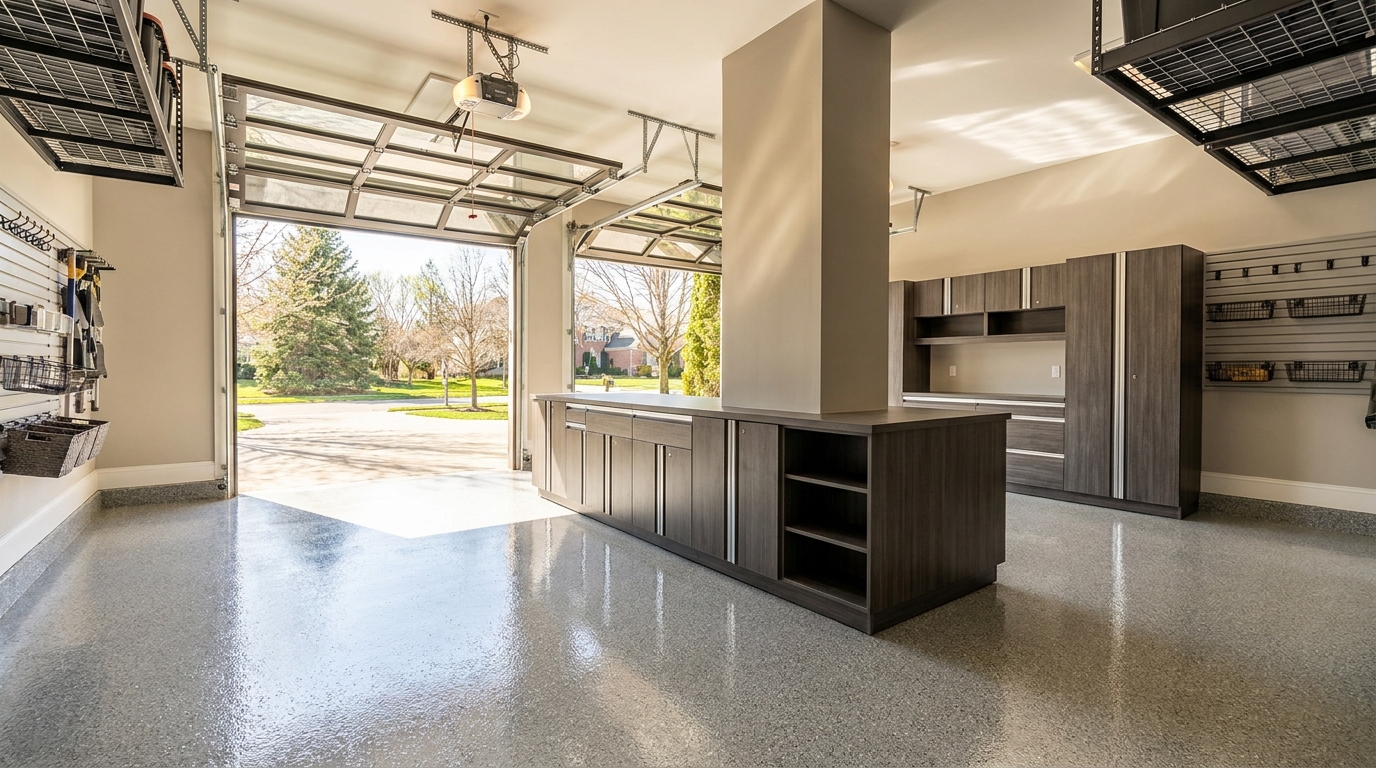
Picture the garage the way you will actually use it. The cars sit on a continuous chip field that catches the light. Along the long wall, heat-fused laminated melamine cabinets hang on the studs, with optional legs resting on that same field. The kick line is a clean meeting of two finished materials. The end panel drops to the floor and stops on the same gloss. There is no gray halo of raw concrete, no taped-off strip that never got coating, no second color that appears the first time you look down while loading a cooler.
That is what we mean when we say the garage floor before cabinets. The floor is the plane of the room. The cabinets are furniture in that room, and they look finished when they sit on a finished floor.
Our Signature and Classic cabinets are wall-mounted, with optional legs. Because the boxes hang from the wall, the coating can run all the way to the drywall. The kick and the end panel then meet a surface that is already one color, already one sheen, already one edge. If you ever restage a run of boxes, the floor under them is already the same floor as the rest of the bay.
Not a kitchen floating-floor rule, and not a chip-match trick
Homeowners often bring a kitchen habit into the garage, and the kitchen habit is not wrong for kitchens. In a 2020 This Old House column, Tom Silva argued for laying a floating wood kitchen floor after the cabinets, because a floating floor has to expand and contract with humidity and cannot do that with heavy cabinets pinning it down.[1] That logic is sound for click-lock planks. It does not apply to a bonded garage coating.
A polyaspartic top coat is a film. It is locked to the slab. It does not need a perimeter expansion gap the way a floating plank does. The right order for that film is the opposite of the kitchen rule: coat the whole slab first, then set the boxes on the finished plane. Architectural millwork practice has long treated casework as a finish trade that follows the floor. A Stevens Industries installation guide, excerpted from a 2006 AWI-aligned article the company still distributes, states that architectural woodwork should be installed after ceilings, plumbing, flooring, and similar work.[2] We follow that same finish-trade order in the garage, with one local difference. Our cabinets are manufactured to the wall, then hung in one to two days after they arrive. The floor is already there waiting for them.
This post is also not about matching a chip blend to a cabinet door. Color coordination between flakes and finishes is a separate design conversation. The sequence we are talking about is physical: one continuous plane, then the boxes. You can choose a quiet granite blend or a bolder field and still get the same clean kick line, because the line comes from the order of work, not from the palette.
Why the empty slab is the right canvas
A coating that will carry cars, cabinet legs, and daily foot traffic has to bond to prepared concrete. The International Concrete Repair Institute’s 2013 guideline on surface preparation (summarized in a 2014 Concrete Repair Bulletin article) is blunt about that: most protective systems applied to concrete need a prepared surface, and poor preparation can lead to failure of the protective system, added expense, and loss of use.[3] ICRI describes ten Concrete Surface Profiles, from CSP 1 (nearly flat) through CSP 10 (very rough). Grinding typically produces a light profile. Shotblasting can produce a broader range. The point of that work is to remove laitance, dirt, oil, films, and old coatings, open the pores, and create a profile the primer can key into.[3]
A manufacturer product data sheet for a slower-set polyaspartic top coat, revised in February 2026, specifies a CSP-3 concrete surface and lists an epoxy primer plus polyaspartic as a recommended system over concrete.[4] You cannot grind, vacuum, and profile a slab that already has a wall of cabinets standing on it. You can work around the boxes, and you will leave a shadow of uncoated or lightly coated concrete under the kick. That shadow is the opposite of one color and one edge.
SSPC-SP 13/NACE No. 6, the joint standard for surface preparation of concrete, was revised in 2018 to make minimum acceptance criteria mandatory (unless procurement documents or the coating manufacturer set a stricter bar) and to classify preparation methods against ICRI 310.2 profiles.[5] The 2018 summary describes a sequence: evaluate the concrete, select the method, then inspect the prepared surface before coating. That sequence assumes access. An empty Charlotte garage gives our team that access. A garage already filled with cabinets does not.
A continuous film, then the boxes
The National Ready Mixed Concrete Association’s Concrete in Practice 29 (2017 reprint) treats polymeric flooring as a moisture-sensitive covering. It notes that water vapor moving through a slab can cause failure of moisture-sensitive adhesives or coatings, including delamination, distortion, or discoloration.[6] ACI Committee 302, in the 2023 guide ACI PRC-302.2-22, lists epoxy coatings among the flooring materials that need that moisture conversation, alongside vinyl, carpet, and hardwood.[7]
Those documents are about the slab as a whole. They are the reason we treat the floor as one system. If cabinets go down first, the coating stops at a box. Years later, a coating added around those boxes leaves two planes: the finished field in the drive lane, and a strip of original concrete under and behind the cabinetry.
NRMCA’s companion sheet, CIP 28 (also a 2017 reprint), adds that slab moisture can cause bond-related failures of non-breathable floor coatings, and that residual mix water can take weeks to months to dry to a level flooring manufacturers will accept.[8] University of Minnesota Extension puts a number on that leftover water: in a typical house, new concrete can hold about 0.1 gallons of moisture per square foot of floor, and a new house may take many months or even years to come into equilibrium with its environment.[9] One polyaspartic data sheet we reviewed (last updated in 2017) states that new concrete must be cured at least 28 days, and the American Cement Association’s current FAQ notes that 28-day compressive strength is the standard checkpoint for structural performance.[10] [11] That 28-day mark is about the slab, not about the cabinets. Once the slab is ready and the coating is down, the boxes follow on a clock measured in hours and days.
How we build the floor the cabinets will sit on
Our live floor spec is a hybrid system: an epoxy primer, a decorative chip broadcast, and a polyaspartic top coat. That stack is UV stable and hot-tire resistant. One-day floor installs are typical. The February 2026 Sherwin-Williams Accelera 4850 product data sheet, written for a slower-set polyaspartic, lists an epoxy primer coat followed by one or two coats of the polyaspartic as a recommended concrete system.[4] A Ghostshield Polyaspartic 745 data sheet (last updated in 2017) likewise names an epoxy primer in its technical specs.[11] Primer into profiled concrete, chips into the wet body coat, clear polyaspartic over the chips. The glossy plane you walk on is that top coat.
The decorative chips are there for traction, hide, and the look of the room. They are not the reason we coat first. We coat first so those chips, and the clear film over them, exist under the kick and past the end panel. Cabinet doors can be charcoal, navy, timber gray, or a metal pattern. The floor can be a quiet granite or a warmer field. The meeting line stays the same because the sequence stays the same.
Cure windows we actually wait on
Cure times come from product data sheets, and they move with temperature and humidity. Here is what two published sheets actually say, so cabinet day is not a guess.
The Accelera 4850 polyaspartic data sheet, revised February 19, 2026, lists this drying schedule at 10 mils wet and 77°F (25°C), 55 percent relative humidity: dry to touch in 1 hour, recoat window 6 hours minimum and 36 hours maximum, foot traffic at 6 hours, wheeled traffic at 24 hours.[4] At 35°F the same sheet stretches those times. If the maximum recoat window is missed, the film has to be abraded before another coat.
The Ghostshield Polyaspartic 745 sheet, at 70°F, lists tack-free in 1 to 3 hours, recoat or topcoat in 2 to 4 hours, light foot traffic in 3 to 5 hours, and full cure (heavy traffic) in 24 to 48 hours. The same sheet says to allow at least 3 hours before walking, that a full cure can take up to 2 days, and to restrict the floor to light traffic and non-harsh chemicals until the coating is fully cured.[11]
Those two sheets do not describe the identical product. They do describe the same family of aliphatic polyaspartic top coats: foot traffic in a handful of hours, heavier use on a one-to-two-day clock. Our team will give you the return-to-service times for the system we actually applied, on the weather we actually had. In a typical Charlotte week that means floor day, walk the film when the data sheet and the floor agree, then hang cabinets after the film is ready for legs, kicks, and the crew working on top of it.
Cabinet manufacturing is its own clock. Once the 3D layout is approved, the boxes are built in the United States. Lead time is typically three to five weeks. On-site installation is typically one to two days. That window lets the floor go in, cure through the wheeled-traffic period, and sit as a finished plane while the boxes are still in production. The Stevens guide, again dating to that 2006 excerpt, also asks for a minimum of 72 hours of on-site acclimation for architectural woodwork before install.[2] Melamine garage cabinets are more stable than raw millwork, but the idea still holds: the room should be ready, the floor should be ready, then the boxes go up.
What the week looks like in a Charlotte garage
We start with an empty bay. Cars out. Storage off the slab. That empty floor is the gift that makes one color and one edge possible. Our team diamond-grinds the concrete, fills cracks and joints, and vacuums the dust. The epoxy primer goes down into the profile. Decorative chips are broadcast into the wet coat. The polyaspartic top coat locks the field. Most floor installs finish in a day.
Then we wait on the clock the data sheet gives us, not on a guess. Light foot traffic when the film will take it. Vehicles when the wheeled-traffic window is open. Cabinet day after that. The crew protects the new plane, hangs the wall-mounted boxes, sets optional legs, and lets the kicks and end panels meet the gloss. Outlets and panels stay accessible. The last walkthrough is you standing in a room that already looks like a room: floor, boxes, one edge.
If you are phasing the project, the same order still serves you. Coat the whole garage floor before cabinets even if the second wall of boxes is a year away. The floor is finished underneath. When the next run arrives, it lands on the same plane as the first run. That is the opposite of piecemeal-over-years, where a coating added later has to stop at whatever is already bolted down.
Piecemeal is a different room
A garage assembled over years, by different crews, with a coating squeezed in around existing storage, can still be useful. It will not look like one room. You will see the joint where the film ended, and raw concrete if a cabinet ever moves. Coordinated design is the other path: floor, cabinets, slatwall, and overhead storage planned as a single layout, with the floor as the first finished surface and the boxes as the furniture that follows.
We design that layout in 3D before anyone opens a bucket. You see the kick line, the end-panel meeting, and the drive aisle before we schedule floor day. Then we install in the order the room needs.
Practical takeaways
- Coat the garage floor before cabinets so kicks, end panels, and the glossy plane share one color and one edge.
- A bonded polyaspartic film is not a floating kitchen plank. Kitchen rules about expansion gaps do not set the garage sequence.[1]
- Surface preparation needs a clear slab. ICRI profiles and SSPC-SP 13 assume access to the concrete, not work around a wall of boxes.[3] [5]
- Treat the floor as one polymeric system. NRMCA and ACI describe coatings as moisture-sensitive coverings that belong on a prepared, tested slab, not as a patch around furniture.[6] [7] [8]
- Read the product data sheet for the clock. One 2026 polyaspartic sheet lists foot traffic at 6 hours and wheeled traffic at 24 hours at 77°F. A 2017 sheet lists light foot traffic at 3 to 5 hours and heavy traffic at 24 to 48 hours at 70°F. We will give you the times for the system on your slab.[4] [11]
- New concrete is a separate wait. Data sheets commonly require 28 days, which matches the industry’s 28-day strength checkpoint.[10] [11]
- Cabinet manufacturing (typically three to five weeks) can overlap the floor’s cure. On-site cabinet install is typically one to two days after the film is ready.
- Phasing still works if the floor is already finished. Later boxes land on the same plane. Piecemeal coating around existing boxes does not.
How we can help
Our team designs Charlotte, Waxhaw, Monroe, and greater Mecklenburg and Union County garages as one room: a hybrid floor coating first, then wall-mounted laminated-melamine cabinets on that finished plane. We will walk the slab, show you the kick line in a 3D layout, and schedule floor day and cabinet day so the glossy field and the boxes share one edge. Have more questions or want to get in touch?
You can also review our garage floor coating, garage cabinets, and coordinated design pages before we visit.
Citations
- This Old House, "Installing Kitchen Flooring or Cabinets First?" (2020-03-20)
- Stevens Industries, "Site Conditions Preparations For Installing Architectural Woodwork" (2006 excerpt, PDF still distributed 2024-10)
- International Concrete Repair Institute, "Introduction to ICRI Technical Guideline No. 310.2R-2013" (2014-05)
- Sherwin-Williams High Performance Flooring, "Accelera 4850 Polyaspartic SS Product Information" (2026-02-19)
- SSPC / NACE (Coatings Connect), "Revised Joint SSPC/NACE Standard, SSPC-SP 13/NACE No. 6, Surface Preparation of Concrete" (2018)
- National Ready Mixed Concrete Association, "CIP 29 - Vapor Retarders Under Slabs on Grade" (2017)
- American Concrete Institute, "ACI PRC-302.2-22: Concrete Slabs that Receive Moisture-Sensitive Flooring Materials, Guide" (2023-02)
- National Ready Mixed Concrete Association, "CIP 28 - Concrete Slab Moisture" (2017)
- University of Minnesota Extension, "Moisture in basements: causes and solutions" (2026)
- American Cement Association, "Cement & Concrete FAQ" (page current)
- KreteTek Industries / Ghostshield, "Polyaspartic 745 Technical Data Sheet" (2017-01-05)