An EV Charging Stall That Still Looks Like the Rest of the Garage
A garage EV charger layout works when the Level 2 unit, the cable path, and the parking stall are drawn with the cabinet run and the floor, so overnight charging still reads as a finished room. Most drivers of electric vehicles already charge at home overnight, and residential equipment is frequently installed in garages [1]. We plan that stall so a listed Level 2 charger, installed by a qualified electrician on a dedicated circuit, sits at a code-legal height, the cord has a home on the wall, and the bay matches the doors, drawers, and coated slab beside it [2][3][4].
A charging bay that belongs with the rest of the house
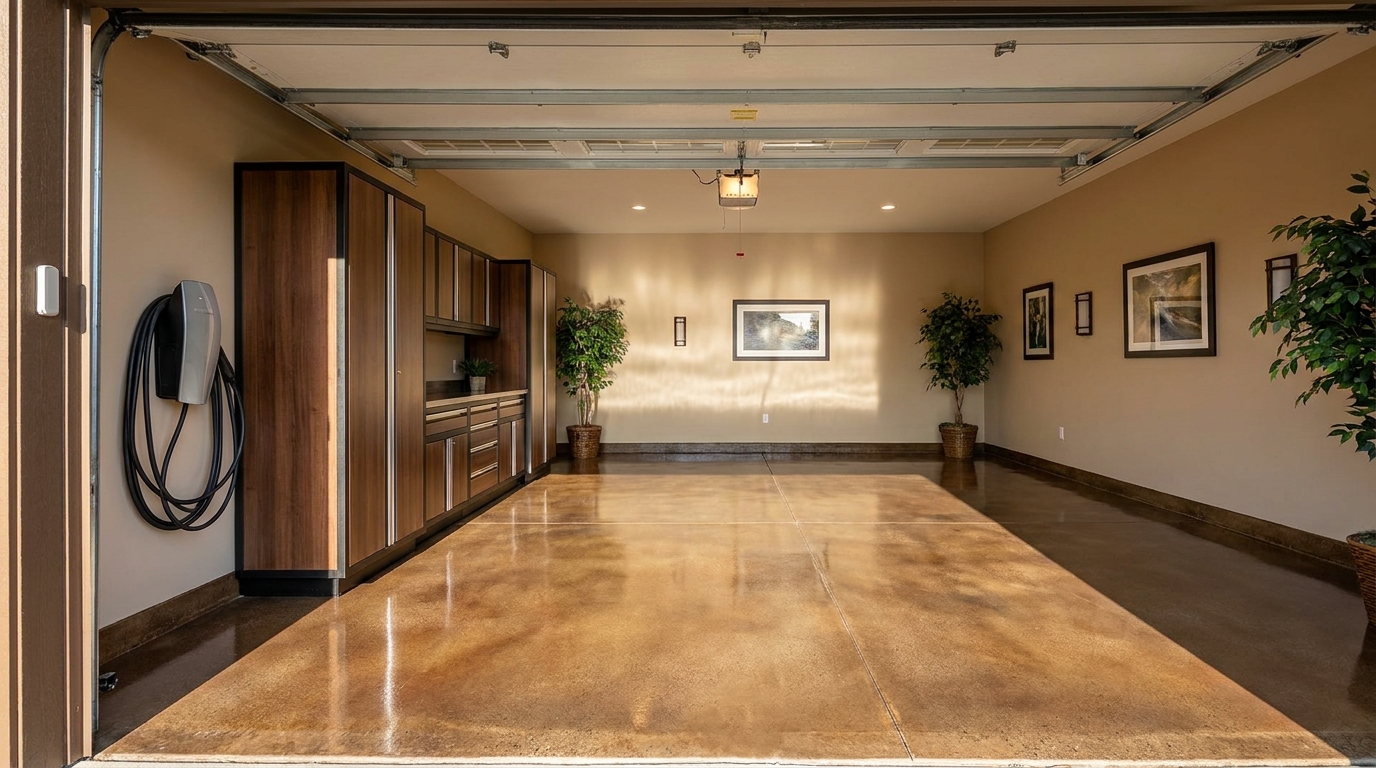
Picture the evening version of the room. The car is home. The connector clicks into the port. The cable returns to a holster at cabinet height. The floor under the tires is the same finished surface that runs to the house door. Nothing is taped to a stud. Nothing is coiled on the slab. That is the design decision: treat the daily-charge bay as another zone in a coordinated garage, not as a piece of shop gear parked against leftover drywall.
At the end of 2024, the U.S. Energy Information Administration counted about 115,000 battery-electric and plug-in hybrid light-duty vehicles registered in North Carolina, or 1.4 percent of the state's light-duty fleet. Nationwide, the same 2024 snapshot put plug-in light-duty vehicles at about 5.8 million, or 2.2 percent of the light-duty total [5]. Those numbers are still a small share of every car on the road, and they are already large enough that a Charlotte garage designed today should have a place for a charger that looks like it was always meant to be there.
The U.S. Department of Energy's Alternative Fuels Data Center is blunt about where that charging happens. Most EV owners do the majority of their charging at home [2]. The equipment that makes overnight charging practical is Level 2, 240-volt supply, the same voltage a dryer uses. A typical residential Level 2 unit can add about 25 miles of range in an hour, which is enough to refill a typical battery while the car sits overnight [2]. Level 1, the 120-volt cord that often ships with the car, adds about 5 miles an hour. Fine as a backup. Not the stall we design as a daily bay [2].
We do not install the charger. A licensed electrician sizes the circuit, pulls the permit, and lands listed equipment. Our work is the room around it: the cabinet run, the slatwall, the overhead storage, and the floor, composed so the EVSE (electric vehicle supply equipment) reads as part of the architecture.
What Level 2 actually asks of the room
Level 2 is a furniture problem as much as an electrical one. The National Electrical Code treats EV charging as a continuous load, which is why the circuit, the breaker, and the conductors are sized for long, steady draw rather than a short burst [1][4]. Most residential Level 2 chargers operate at up to 30 amps and about 7.2 kilowatts, and those units need a dedicated 40-amp circuit to stay inside Article 625 [2]. The U.S. EPA's home-charging guidance is more specific on the multiplier: the breaker should be sized at least 125 percent of the charger it serves, so a 40-amp Level 2 unit typically needs a dedicated 50-amp circuit [7]. If the house has 200-amp service and two empty slots for a double-pole breaker, many homes have the capacity. A 100-amp service can still work, depending on the rest of the load. That call belongs to the electrician, after a load calculation [7].
Article 625 also tells us where the unit can live on the wall. The EVSE has to sit so the supplied cable reaches the car directly. You do not add an extension cord, and you do not invent a homemade jumper [4]. Indoors, unless the equipment is listed and marked otherwise, the coupling means (the connector and its holster) sit at least 18 inches above the floor [4]. Outdoors, that minimum is 24 inches above grade. NFPA's consumer tip sheet adds the practical layer: use devices listed by a qualified testing laboratory, keep cords off the ground, keep charging equipment away from busy walkways and things that could catch fire, and never use an extension cord with the charger [3]. A qualified electrician checks whether the existing system can handle the load and installs a new circuit just for the charging device [3].
Those rules are not a reason to hide the charger in a leftover corner. They are the dimensions of a good stall. Eighteen inches off the floor is right in the zone of a cabinet toe-kick and a standing holster. A dedicated circuit is a reason to leave a clean, finished wall panel instead of burying the landing behind a full-height run.
Connectors matter for reach, not for style. AC Level 1 and Level 2 in North America use the SAE J1772 connector. Tesla and other vehicles with a J3400 (NACS) port still charge on that same Level 2 wall unit with an adapter, and the Joint Office of Energy and Transportation notes that J3400 itself can be used for Level 1 and Level 2 charging [2][6]. We plan the stall around the port on your car (driver side or passenger side, front fender or rear quarter) so the cable is short, high, and put away when you are done.
Park the car so the port and the holster meet
A garage EV charger layout starts with how the vehicle sits, not with a product photo of a wall box. We measure the bay, the door swing, the house entry, and the charge-port location on the car you actually drive. Then we assign that stall a wall.
If the port is on the left-front fender, the charger belongs on the left wall, forward of the front wheel, at a height where you can lift the connector without kneeling in a puddle. If the port is on the right-rear quarter, the unit belongs farther back on the right, still inside the 18-inch indoor minimum, still clear of the rear bumper when the car is fully in. The goal is a one-hand reach from a parked car, not a diagonal pull across the hood.
Two-car garages get an extra decision: which bay is the EV bay. The stall closest to the electrical panel is often the cheaper circuit for the electrician. The stall closest to the house door is often the one you want finished, because you walk that path every day. We hold both ideas at once. A short, straight conduit run can still land on a wall that is part of a cabinet composition. A longer run can still be worth it if it keeps the cable off the main walk. The 3D layout we produce for a coordinated project is the place those tradeoffs get settled, before anyone orders a cabinet or pulls wire.
Clearances are part of the stall. You still need the driver's door to open against a cabinet face without hitting a holster. You still need a path from the house door to the car that does not cross a live cord. NFPA's instruction to keep charging equipment away from busy areas is, in a family garage, a layout rule: the connector lives on the car-side wall, not on the wall you use as a hallway [3].
Keep the cable on the wall, not on the coated floor
The cable is the piece that makes a finished garage look unfinished if it is ignored. NFPA's home-charging sheet is direct: keep cords off the ground [3]. That is also how a polyurea floor stays a floor instead of a cord trough. We design a parking stall with a holster at standing height, a short return path along the wall, and a place to hang the loop so it never rests on the slab, never drapes over a cabinet pull, and never lies in the track of the overhead door.
A holster is not extra hardware. It is the visual period at the end of the stall. Lined up with cabinet doors, it reads as part of the run. Dropped at random stud height, it reads as a retrofit. We hold a pad on the wall (a finished rectangle of painted drywall, slatwall, or a cabinet end panel) sized for the unit your electrician specifies, then set adjacent garage cabinets so drawers still open and locks still work. Wall-mounted cabinets, which keep their boxes off the slab, leave the floor free to clean under the run, which is the right detail next to a charging stall that will see wet tires.
Slatwall on the same wall can hold the extra loop, a labeled hook for the adapter, and the everyday gear that used to live on the floor where the cord wants to go. Outlets, switches, and the electrical panel stay accessible. Our cabinet and slatwall installs are notched around those devices so the electrician can service the circuit later without taking a wall apart. That is the difference between a charger dropped onto leftover drywall and a charger composed into the room.
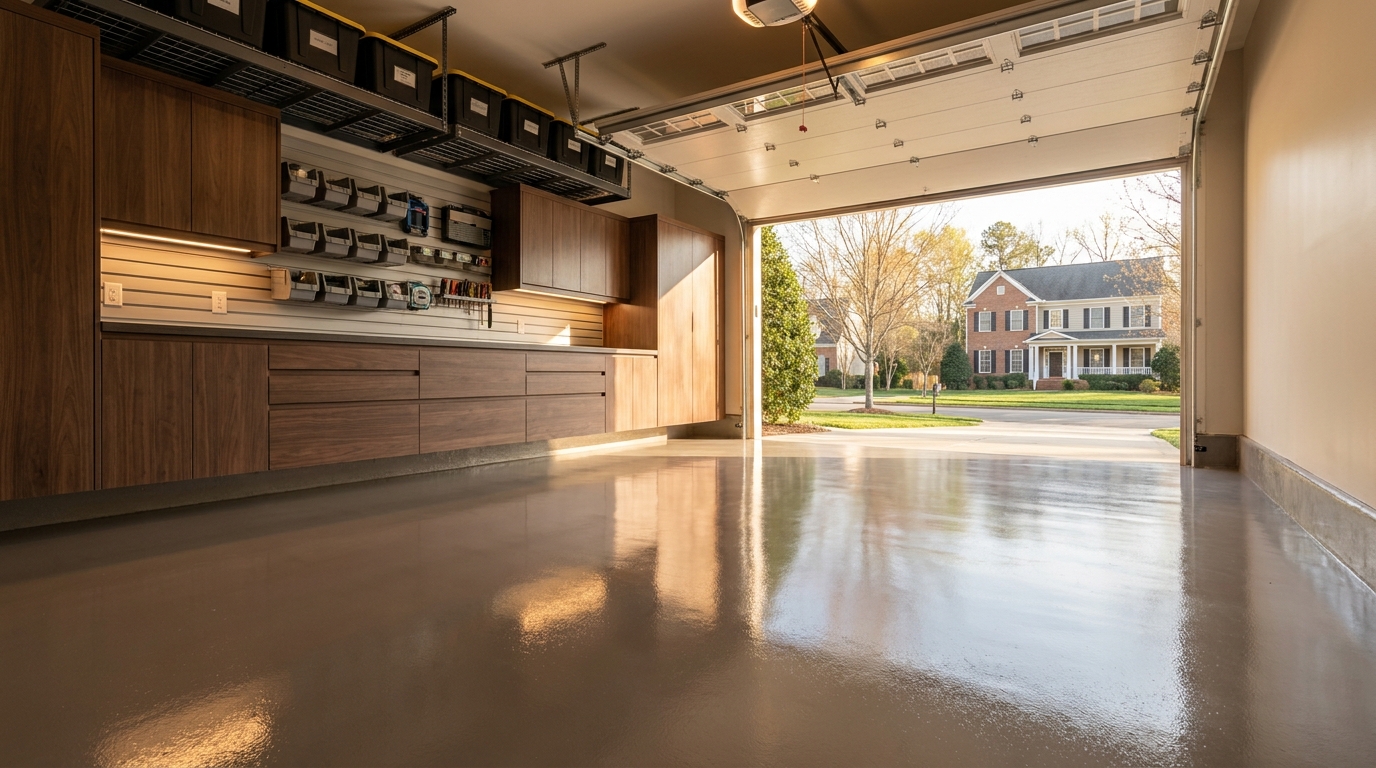
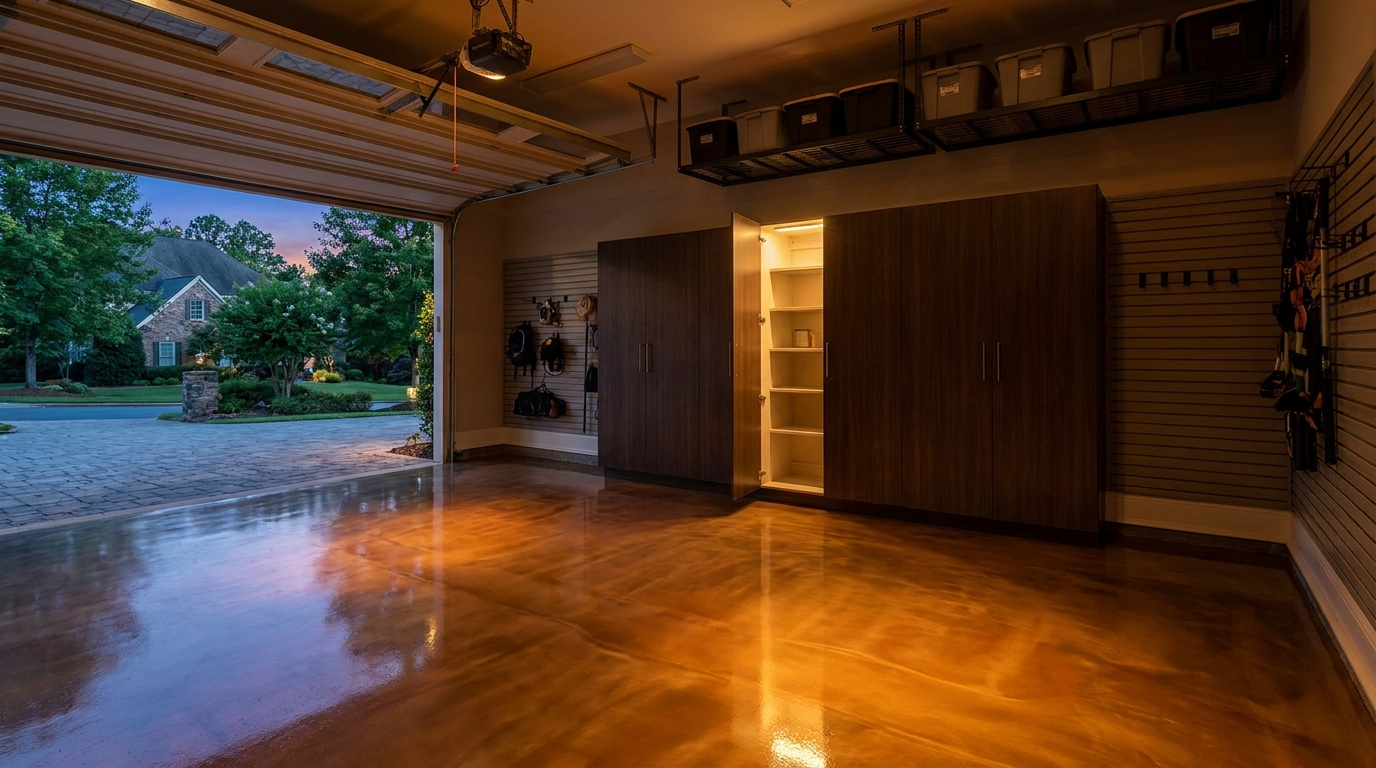
The floor under the car is the other half of the cable path. A coated slab gives the stall a finished plane, hides the old builder concrete, and makes a dropped connector easy to see and pick up. We install polyurea coatings and modular tile as part of the same project, so the stall color and the walk-path color belong to one palette. Parking the car on a finished floor also makes the bay edges obvious. You pull in to the same mark every night, which is how the port and the holster keep meeting. See our garage flooring page for how the coating and tile systems are built.
Give the electrician a finished place to land
The National Fire Protection Association's consumer guidance is the right sequence in a sentence: before you charge at home, have a qualified electrician check the electrical system and install a new circuit just for the charging device [3]. The EPA adds the job list. Expect a load calculation. Expect permits and inspections in many jurisdictions. Expect listed equipment and a dedicated circuit [7]. AFDC puts the same work under NEC Article 625 and notes that some cities want a site installation plan submitted before the work starts [1].
Our team does not pull that permit and does not land that circuit. What we do is make the landing a designed surface. During the on-site measure we locate the panel, the existing 240-volt outlets, the water heater or dryer (if either lives in the garage), and the wall that will take the EVSE. We leave a pad: clear, plumb, and large enough for the unit plus the holster, with space around it so the cabinet doors do not collide with the connector. We keep combustible storage (paints, solvents, gas cans for the mower) in lockable cabinets away from that pad, which is the NFPA "keep away from things that could catch fire" rule turned into a storage plan [3].
If the panel is in the garage, it stays a panel. Full-height cabinets do not swallow it. If conduit has to drop from a ceiling or run along a wall, we plan the cabinet tops and the overhead racks so the electrician's path is still a straight, serviceable line. Indoor-listed Level 2 equipment generally does not require extra mechanical ventilation when it is listed for indoor charging without ventilation [4]. That is a listing question for the electrician and the manufacturer, not a reason to leave a raw corner "for airflow."
Receptacle-connected units need GFCI protection under Article 625. Hardwired units follow a different connection method [4]. Either way, the wall we leave is a finished wall, not a temporary one. The electrician should be able to mount the bracket on a surface that already matches the room.
Design the stall with the rest of the system
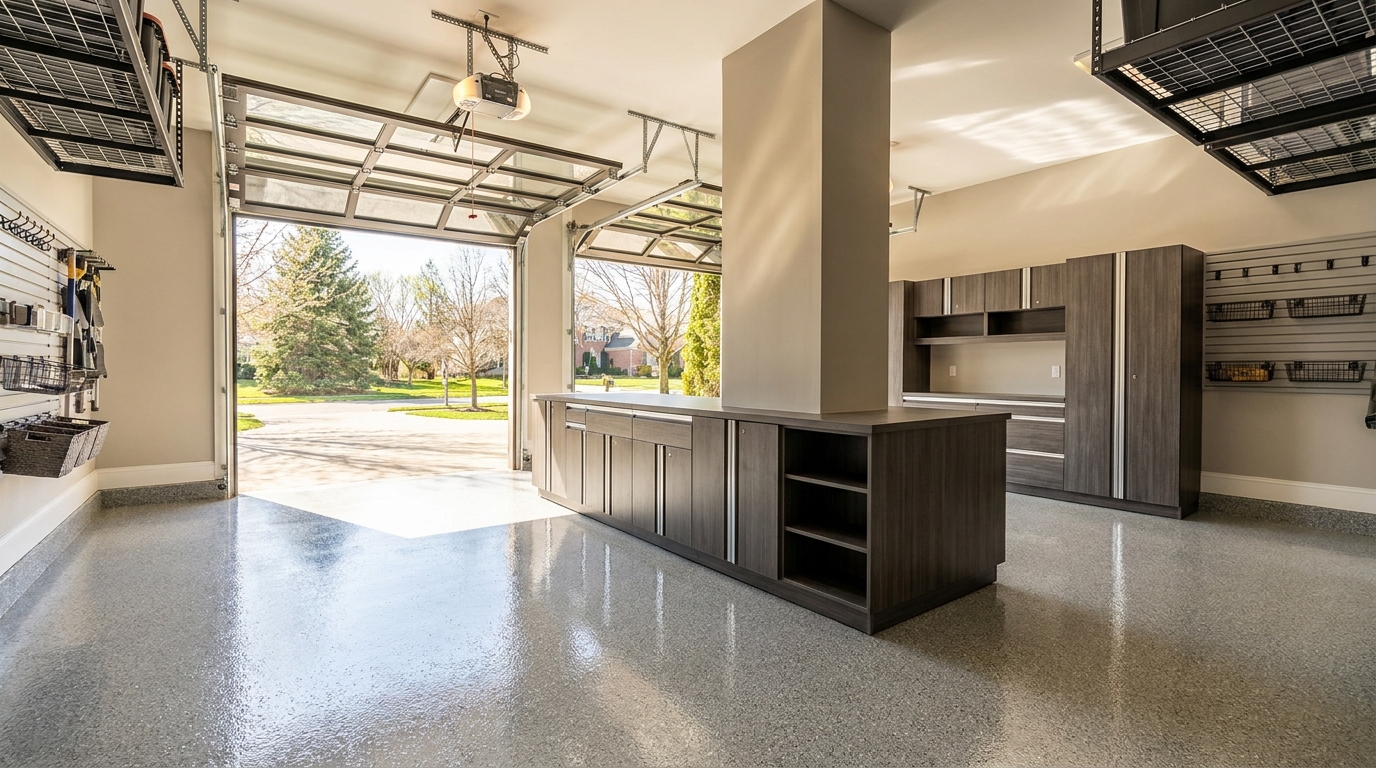
The stall is one zone in a coordinated design. Cabinets along the back wall. Slatwall over a worktop. Overhead racks above the door. Floor coating through both bays. The charger is not a fifth product category. It is a rectangle we reserve on a wall that already has a finish, a height language, and a traffic plan.
We start with how you live in the room. Daily items stay at standing height. Seasonal bins go overhead. Lawn chemicals and automotive fluids go behind lockable doors. The EV bay gets the same treatment: a dedicated stall, a dedicated wall pad, a dedicated cable home. Frequency of use is the organizer. You plug in every night you are home, so the connector has to be as easy to grab as a coat hook, and as easy to put back.
The 3D rendering we produce before manufacturing is where the stall gets signed off. You see the car in the bay, the cabinet run, the holster height, and the walk from the house door. You can move the pad a foot, swap a finish, or keep a second stall clear for a future second charger. Nothing gets ordered until that drawing matches the way you park. On install day, one crew handles the cabinets, slatwall, overhead, and floor. The electrician's visit is scheduled around that work, not as an afterthought that punches a hole in a finished wall.
Charlotte, Waxhaw, Monroe, and the rest of the metro we serve want the garage to feel like the rest of the house. A garage EV charger layout is how that wish includes the car you plug in.
Practical takeaways
- Treat the daily-charge bay as a designed zone: a reserved wall pad, a holster at standing height, and a parking mark on a finished floor, composed with the cabinets beside it.
- Let a licensed electrician size a dedicated Level 2 circuit, pull the permit, and install listed EVSE. Most residential Level 2 charging is 240 volts on a dedicated circuit sized as a continuous load under NEC Article 625 [1][2][4][7].
- Place the charger for a short, direct reach to your car's port. Article 625 wants the supplied cable to couple to the vehicle without an extension, and indoor holsters typically sit at least 18 inches off the floor [4].
- Keep the cord on the wall. NFPA's home-charging guidance is to keep cords off the ground, skip extension cords, use listed equipment, and keep the unit away from busy walkways and stored combustibles [3].
- Confirm connector type (J1772 or J3400/NACS, with an adapter if needed) and charge-port side before the wall layout is frozen [2][6].
How we can help
Our team designs Charlotte-area garages as one room, including the stall where a Level 2 charger will live after a qualified electrician installs it. We measure the bay, reserve a finished pad on the wall, compose the cabinet run and the floor around that pad, and show you the result in 3D before anything is built. Have more questions or want to get in touch? Contact us
Citations
- U.S. Department of Energy, Alternative Fuels Data Center, "Charging Electric Vehicles at Home" (accessed 2026-08-31)
- U.S. Department of Energy, Alternative Fuels Data Center, "Electric Vehicle Charging Stations" (accessed 2026-08-31)
- National Fire Protection Association, "Electric Vehicles: Safe Charging at Home" (2024)
- EC&M / Mike Holt, "NEC Requirements for EV Equipment" (2023)
- U.S. Energy Information Administration, "Table N4. Electric light-duty vehicles overview, 2024" (2024)
- Joint Office of Energy and Transportation, "SAE J3400 Charging Connector" (accessed 2026-08-31)
- U.S. Environmental Protection Agency, "Getting Started with Home EV Charging" (2024-12-20)