Filler Panels and Scribes So the Cabinet Run Meets the Wall Cleanly
The joint that makes the run look built in
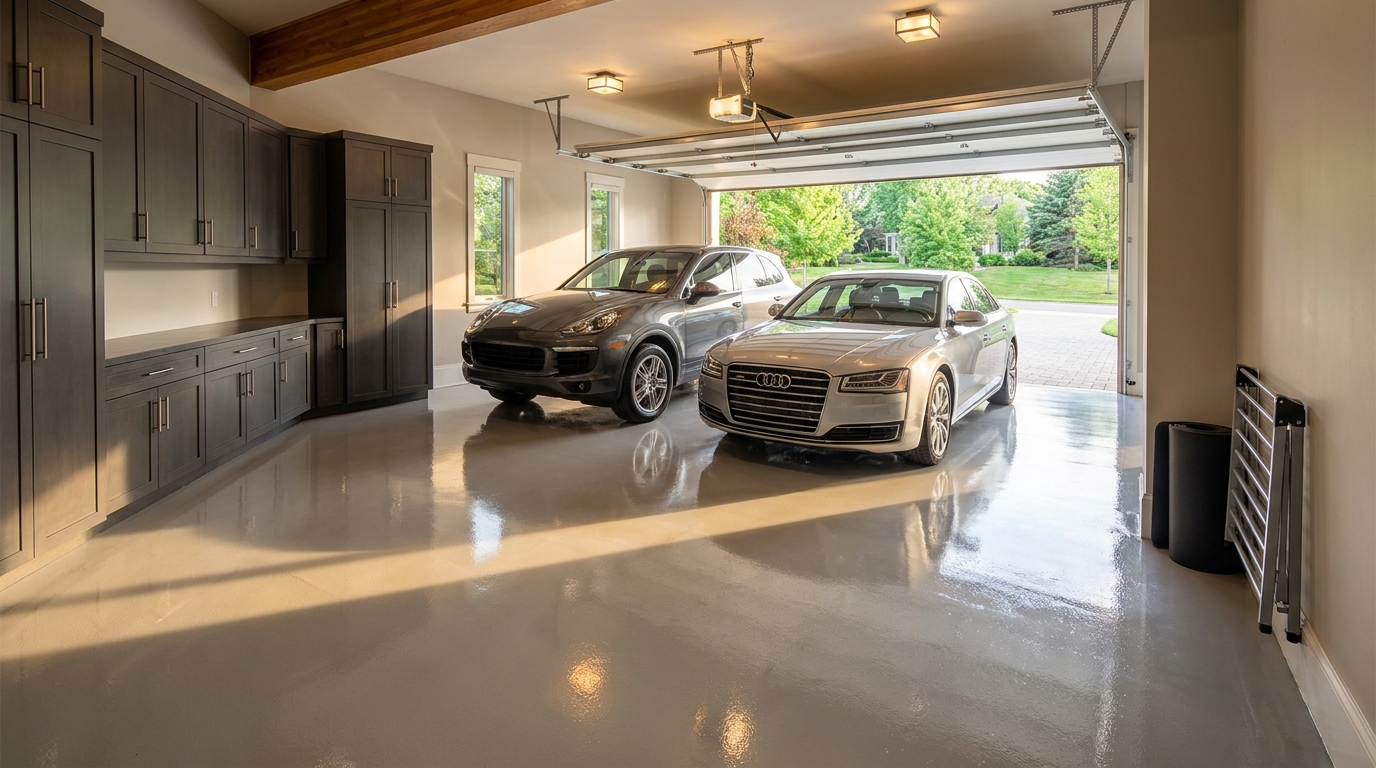
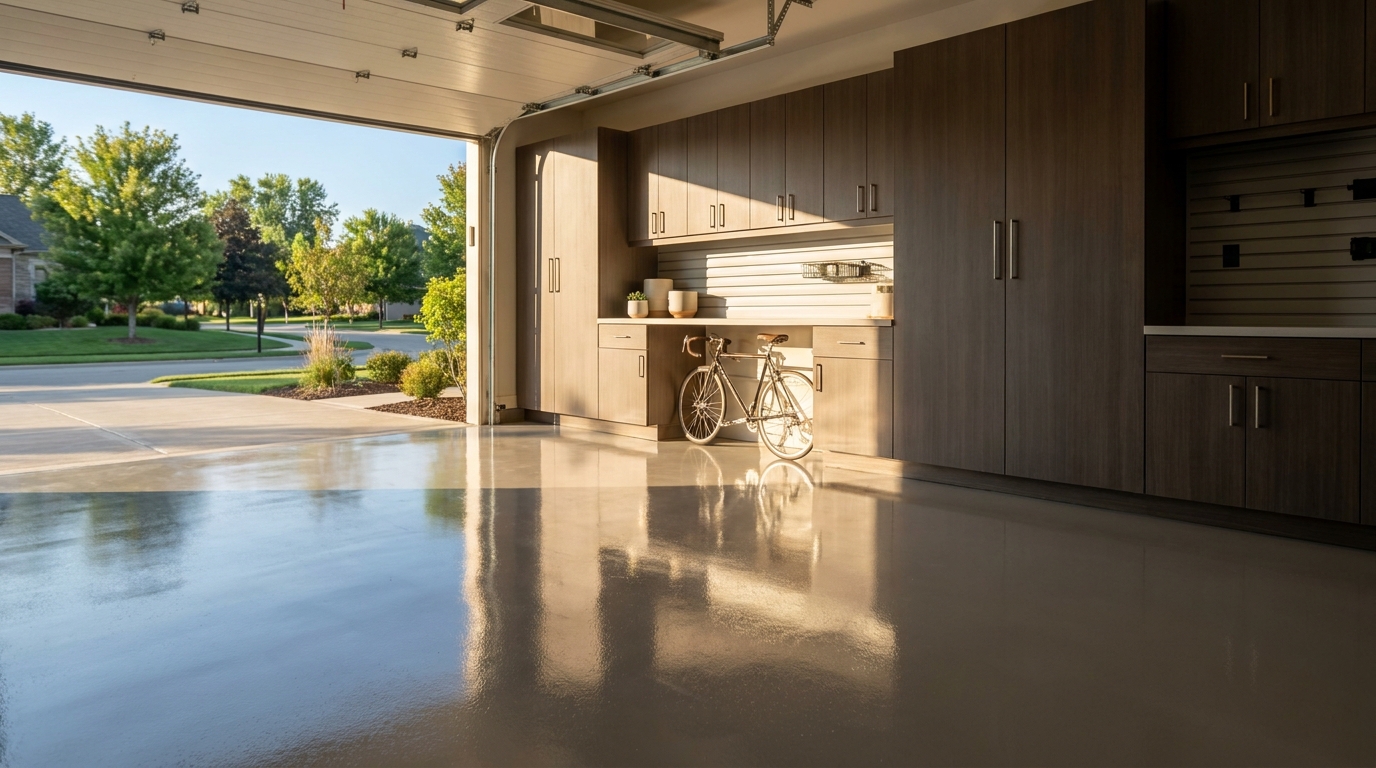
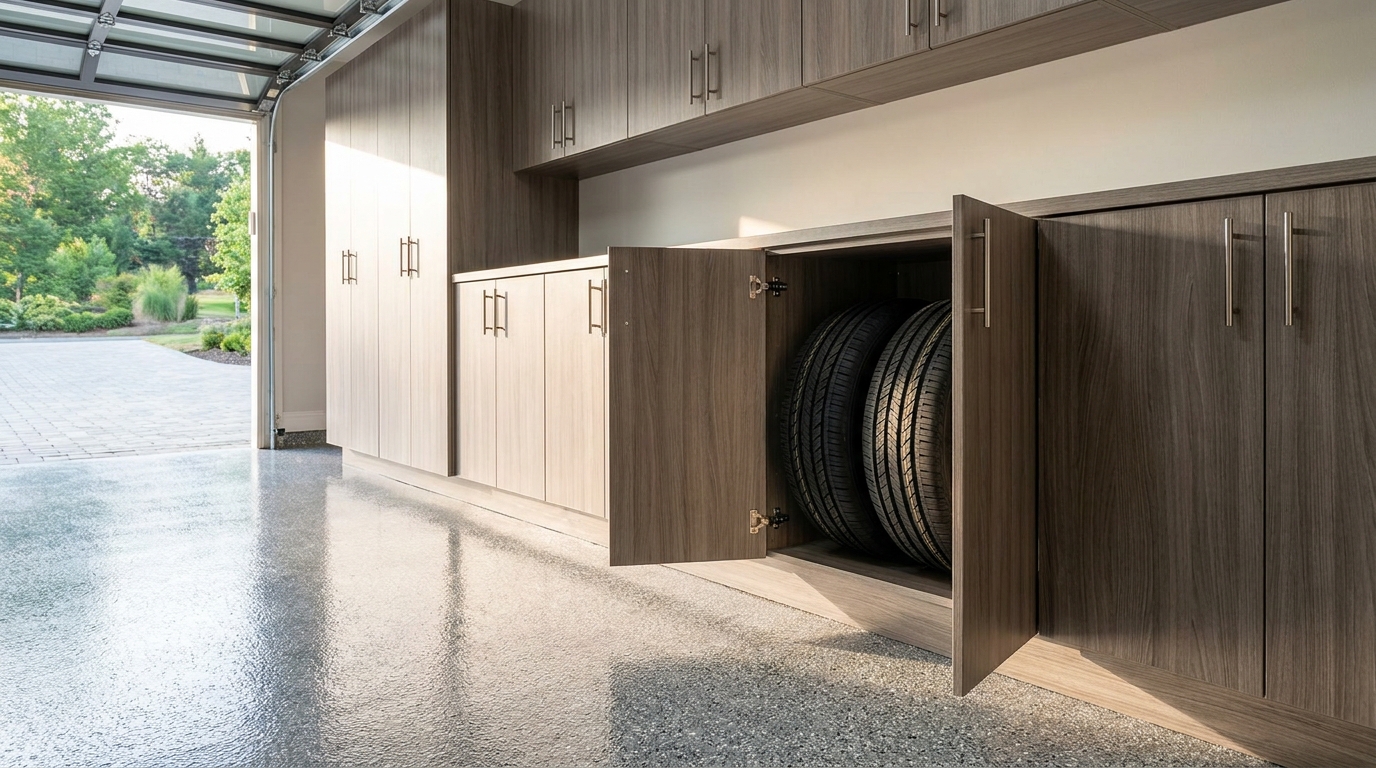
A finished garage reads as one built-in run when the last cabinet meets the drywall on a clean, even joint. That joint is a filler panel or a scribed edge. It is where the box meets the wall, not the finished end panel you see from the parking bay, and not the piece that turns a corner. ANSI/AWI 0620-2024, the finish carpentry installation standard, says casework shall be scribed to finished walls at the voids between cabinets and adjacent walls, using integral scribes, scribe fillers, or scribe moulding [1]. The Architectural Woodwork Institute states that its standards are voluntary, and that wood products installed outside climate-controlled interior environments are not governed by them [3]. A garage in Charlotte, Waxhaw, or Monroe is often attached and not held at living-room temperature. We still draw garage cabinet filler panels to those dimensions so the cabinet line stays straight and the door gaps stay even.
Filler, scribe allowance, and scribe moulding
A scribe filler is a separate strip between the cabinet and the wall. Under the 2024 installation standard, premium grade limits the installed width of a scribe filler to 2 inches and does not permit scribe moulding [1]. Custom grade permits scribe fillers or scribe moulding and limits that installed width to 3 inches [1]. At premium and custom grade, exposed ends are edgebanded, and a color-compatible caulk line is permitted if it does not exceed 1/8 inch [1]. The filler may sit flush with the face it abuts, or it may be set back up to 1/8 inch, with a variance of plus or minus 0.031 inch, and that joinery stays consistent along the elevation [1]. Scribes, fillers, and the exposed faces of closure panels match the exposed cabinet surfaces in color, texture, and pattern [1]. Joints are not permitted in that material when the piece is shorter than 96 inches, so the filler beside a tall cabinet is one length [1].
A scribe allowance is material left on the wall side of the cabinet itself, shown in the installation standard as Figure 10 [1]. The edge that meets the wall is cut to the wall, and the box stays on its own line. Scribe moulding is a cover piece laid over the gap. Premium grade does not allow it, and custom grade does, inside that 3 inch width [1]. We use the filler or the allowance rather than moulding, so the joint reads as part of the cabinet.
The 2022 manufactured wood casework standard, ANSI/AWI 1232-2022, covers casework made in stock increments [4]. It calls for scribing to finished walls with scribed fillers, mouldings, or allowances. Scribed fillers and mouldings have a maximum installed width of 3 inches, and scribed fillers are at least 1/4 inch thick, except certain high-pressure laminate closures [4]. Exposed material matches the cabinet face and is furnished by the manufacturer. Installed appearance follows ANSI/AWI 0620, and final gap, flushness, and alignment adjustments follow that standard's custom grade [4].
ANSI/KCMA A161.1-2022 covers factory-assembled kitchen and vanity cabinets only, and it is a performance standard, not a design standard [8]. It does not set filler widths, and a garage is outside its scope. It does require that sides which stay exposed after installation be factory finished or covered in the field with factory-finished panels [8]. We hold that same idea at a garage wall. When a factory-finished piece is cut to make the fit, the 2024 installation standard says the unfinished core is sealed before the piece is installed [2].
Two straight lines, measured two different ways
The installation standard says the product is installed plumb and level within 1/8 inch in 96 inches, an eighth of an inch over an 8 foot height [2]. It also says it is not the installer's responsibility to scribe to walls, ceilings, floors, or openings that exceed the plumb, level, flat, straight, or square tolerances written in the contract documents [2]. On a house, that record is the layout we measure before the boxes are built, and the filler width belongs there.
The wall's tolerance is local. GA-216-2021 says wood framing that receives gypsum shall be straight and true, and that any framing or furring face shall not vary more than 1/8 inch from the plane of adjacent fastening points [5]. Those points are neighboring studs, not the two ends of a long wall, so a wall can meet the rule and still walk a little along a cabinet run. Where gypsum panels gap, the 2021 specification limits the gap to 1/4 inch and calls for joint compound in the joint [5].
On the house side of an attached garage, that gypsum is there for separation. In a March 21, 2019 interpretation, the North Carolina Office of the State Fire Marshal stated that Table R302.6 of the 2018 Residential Code requires an attached garage to be completely separated from the residence by 1/2 inch regular gypsum board or 5/8 inch Type X gypsum board applied to the garage side [6]. In Mecklenburg County and Union County, the wall a cabinet run often meets, between the garage and the living space, is that gypsum over wood studs, and the filler is the piece that joins it to the plumb cabinet line.
Even door gaps come from a plumb box
The 2024 installation standard says reveals between the edges of doors and drawer fronts and finished ends shall be uniform, following the manufacturer's instructions, or the clearances in the standard if those instructions are silent [1]. On a reveal-overlay frameless cabinet, that uniform reveal is 1/8 inch, with a maximum variance of 0.031 inch at premium grade and 0.063 inch at custom grade [1]. "Finished end" there means the end of the cabinet face the last door closes next to, not a decorative panel turned toward the parking bay. Manufactured casework sends final gap, flushness, and alignment adjustments to custom grade, so the band we hold is 0.063 inch around that 1/8 inch reveal [4].
If the last stile leaves plumb to chase the wall, the last reveal leaves that band. The filler lets the boxes stay inside 1/8 inch in 96 inches, so the end door matches the doors in the middle [2]. We size the strip so the door and pull clear the wall, then hold the installed width to 2 inches when the wall allows the premium filler, and to 3 inches as the manufactured-casework maximum [1][4].
Fitting the piece in the garage it will live in
An attached garage around Charlotte does not hold the same air as a heated living room. The 2021 Wood Handbook, from the U.S. Forest Products Laboratory, says moisture requirements are more exacting inside heated and air-conditioned buildings than for lumber used outdoors or in unheated buildings [7]. For most of the United States it recommends, at installation, an average of 8 percent for interior woodwork, flooring, furniture, and trim, with individual pieces between 6 and 10 percent, and an average of 12 percent for exterior siding, trim, and sheathing, with individual pieces between 9 and 14 percent [7]. Wood should go in near the moisture content it will see in service [7].
The handbook's North Carolina city is Raleigh. Outdoor equilibrium moisture content there, from climate records through 2010, runs from 11.6 percent in April to 14.0 percent in September [7]. An unconditioned garage sits closer to that outdoor range than a bedroom does, so we fit the filler in the room, to the wall, when we set the boxes plumb. Hot-pressed board products such as particleboard and hardboard usually hold a lower moisture content than lumber at the same relative humidity [7]. Many of our faces are a factory laminate over a composite core, and we still cut the joint to the gypsum, because the wall is the line that changes along the run.
How we draw the joint before the boxes arrive
On a layout visit we set a level against the wall the run will meet and note where the gypsum comes forward and where it falls away. A scribe allowance on the end stile works when the difference is small and the cut edge can be sealed [2]. A separate filler works when each cabinet should stay a standard width and the strip should carry the fit. The width on the drawing is the width we install, at or under 2 inches when the wall allows, and at or under 3 inches in every case [1][4].
The boxes then set plumb, the doors come back to an even reveal, and the filler or scribed edge follows the gypsum with a face that matches the cabinets [1]. If one filler would have to run wide, we change the drawing so a cabinet steps in and the visible strip stays narrow. That is the layout conversation in Charlotte, Waxhaw, Monroe, and across Mecklenburg County and Union County.
Practical takeaways
- The wall joint is a filler or a scribe, not the finished end panel facing the bay and not the piece that turns a corner.
- Measure the wall before cabinet widths are locked, and write the filler or the scribe allowance into the layout.
- Set the boxes plumb and level within 1/8 inch in 96 inches, and let the filler follow the gypsum [2].
- Keep an installed scribe filler at or under 2 inches when the wall allows that premium width, and at or under 3 inches as the manufactured-casework maximum, with the face matched to the cabinets [1][4].
- Hold door reveals uniform. On a reveal-overlay frameless door, the standard sets that reveal at 1/8 inch, and custom grade allows a variance of 0.063 inch [1][4].
- If a color-compatible caulk line is used where the filler meets the wall, keep it at or under 1/8 inch, because the filler, not the caulk, closes the void [1].
- Fit the piece in an unconditioned garage. The 2021 Wood Handbook recommends an average of 8 percent moisture content for interior woodwork and 12 percent for exterior trim in most of the country, and Raleigh's outdoor equilibrium, from records through 2010, runs from 11.6 percent in April to 14.0 percent in September [7].
- Use one continuous filler when the piece is shorter than 96 inches, and seal any cut edge of a factory finish before it goes on the wall [1][2].
How we can help
We measure the wall, draw the filler or the scribe into the cabinet layout, and install the run so the doors stay even and the joint at the drywall belongs to the cabinets. You can see how a full run is planned on our garage cabinets page. Have more questions or want to get in touch?
Citations
- Architectural Woodwork Institute, "3.4 Aesthetic" (2024)
- Architectural Woodwork Institute, "3.1 General" (2024)
- Architectural Woodwork Institute, "Introduction, Foreword, 1.0 Purpose and 2.0 Scope" (2024)
- Architectural Woodwork Institute, "3.4 Aesthetic" (2022)
- Gypsum Association, "Application and Finishing of Gypsum Panel Products, GA-216-2021" (2021)
- North Carolina Office of the State Fire Marshal, "Fiber-Cement Board Siding for Residence/Garage Separation" (2019-03-21)
- U.S. Forest Service, Forest Products Laboratory, "Chapter 13: Drying and control of moisture content and dimensional changes" (2021)
- Kitchen Cabinet Manufacturers Association, "ANSI/KCMA A161.1-2022 Performance and Construction Standard for Kitchen and Vanity Cabinets" (2022)