Seeing the Finished Garage in 3D Before Install Day
The best moment in a Charlotte garage project is not install day. It is the quieter one a few weeks earlier, when you sit in the bay with finish samples in your hand and the finished room on a screen. That is what a design visit is for. We measure the garage, build a 3D garage design of the cabinets, slatwall, overhead storage, and floor, and put real chips and swatches next to the rendering so you can approve the room before a crew parks in the driveway. Construction teams use the same idea at a larger scale: a 3D model lets owners preview layout, lighting, textures, and colors, and change the plan while it is still a picture instead of a built wall [1].
The visit is a look at the finished room
We treat the garage as a room you will live with every day, not as a leftover space to fill with product. When we walk a two-car bay in Ballantyne, Waxhaw, or Monroe, we are already imagining the parked cars, the path from the house door, the daily gear, and the quiet inventory that belongs overhead. The visit is how that picture gets specific.
Our coordinated design service is the whole-room version of that conversation. We meet you at the garage, walk the space, and talk through what you store and how you actually use the bay: tools, sports, lawn gear, seasonal bins, vehicles, and any workbench you want to keep. The contact visit is typically about an hour. We measure, photograph, and walk you through product options. You leave with a written quote. The 3D rendering is the part that turns those notes into a room you can see.
Nothing in that hour is a sales slideshow of someone else's garage. The model is your walls, your door travel, your ceiling height, and your gear. If a locker column would pinch a passenger door, we see it on screen. If a ceiling rack would sit in the opener's path, we see that too. If a floor color that looked right in a catalog reads too dark next to the cabinet sample, you can swap it before anyone orders.
Penn State's Computer Integrated Construction program describes design review as a process in which a 3D model showcases the design to the people who will live with it, so they can evaluate layout, lighting, textures, and colors, and use a virtual mock-up to test alternatives while those changes are still cheap [1]. The National Institute of Building Sciences puts the same job in plainer industry language. Its Review Design BIM use is meant to validate design intent against project requirements and stakeholder expectations, and it lists reduced RFIs, reduced change orders, and fewer schedule changes during construction among the potential benefits [2]. We are not building a hospital or a courthouse. We are building a family garage. The principle still holds: approve the room while it is still a model.
What we measure, and why the numbers come first
A rendering that is not tied to the real bay is just a pretty picture. The first product of the visit is a measured plan.
We measure every wall, floor to ceiling, and we do it with the constraints in view: windows, man-doors, garage-door tracks, opener hardware, outlets, panels, and the slope that many Charlotte slabs actually have. We locate studs because wall-mounted cabinets and slatwall have to land on structure, not on drywall. We note door swings and how far a car door needs to open with the vehicle parked. We photograph the space so the layout is not relying on memory by the time we sit down to draw.
The National BIM Standard's Capture Conditions use is a useful reminder here, even though a residential garage is not a laser-scan jobsite. Accuracy of data capture varies with the tool and with site conditions, and that accuracy has to be good enough for the next step [3]. In a garage, the next step is a cabinet run that has to fit between a window and a man-door, a slatwall panel that has to clear a switch, an overhead rack that has to sit above door travel, and a floor coating that has to stop at the right threshold. A half-inch error on a wall can stack into a gap, a clash, or a cabinet that no longer leaves room to walk.
That is also why we measure the things you store, not only the walls. A wall of cabinets that looks generous on a floor plan can still fail if the hockey bag, the stand-up mower, or the rolling tool chest was never sized. Frequency of use belongs in those notes too. Daily gear wants a reachable wall. Seasonal totes can live in the ceiling space. Vehicles keep a parking stall. The 3D layout is the map of those decisions, not a catalog collage.
On the cabinets side of a project, our on-site measurement covers walls, ceiling height, panel and outlet locations, and any constraint that affects the layout, with photographs on file. That same discipline applies when the room also includes slatwall, overhead storage, and a floor. One measured model. One set of numbers the crew will install to.
Cabinets, slatwall, overhead, and floor in one picture
Once the measurements are in, we draw the room as a single layout.
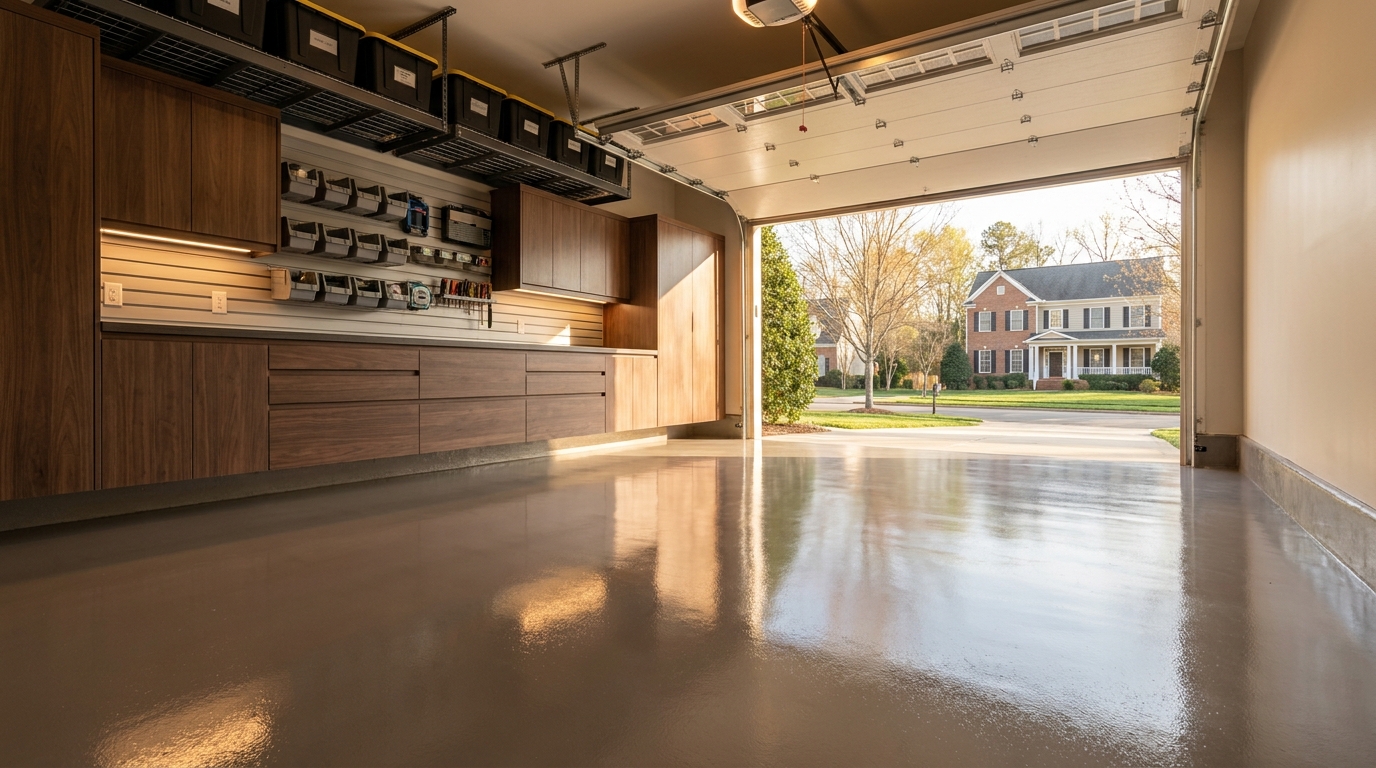
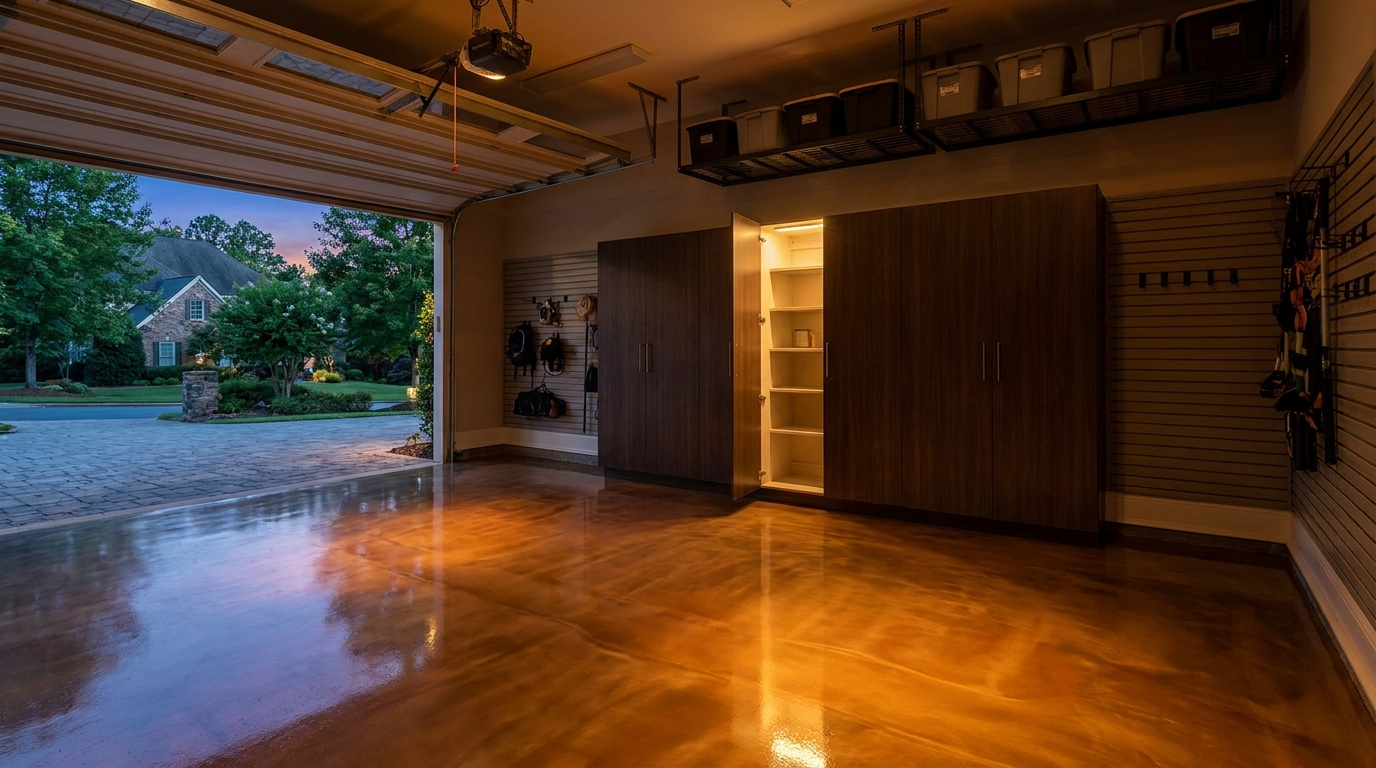
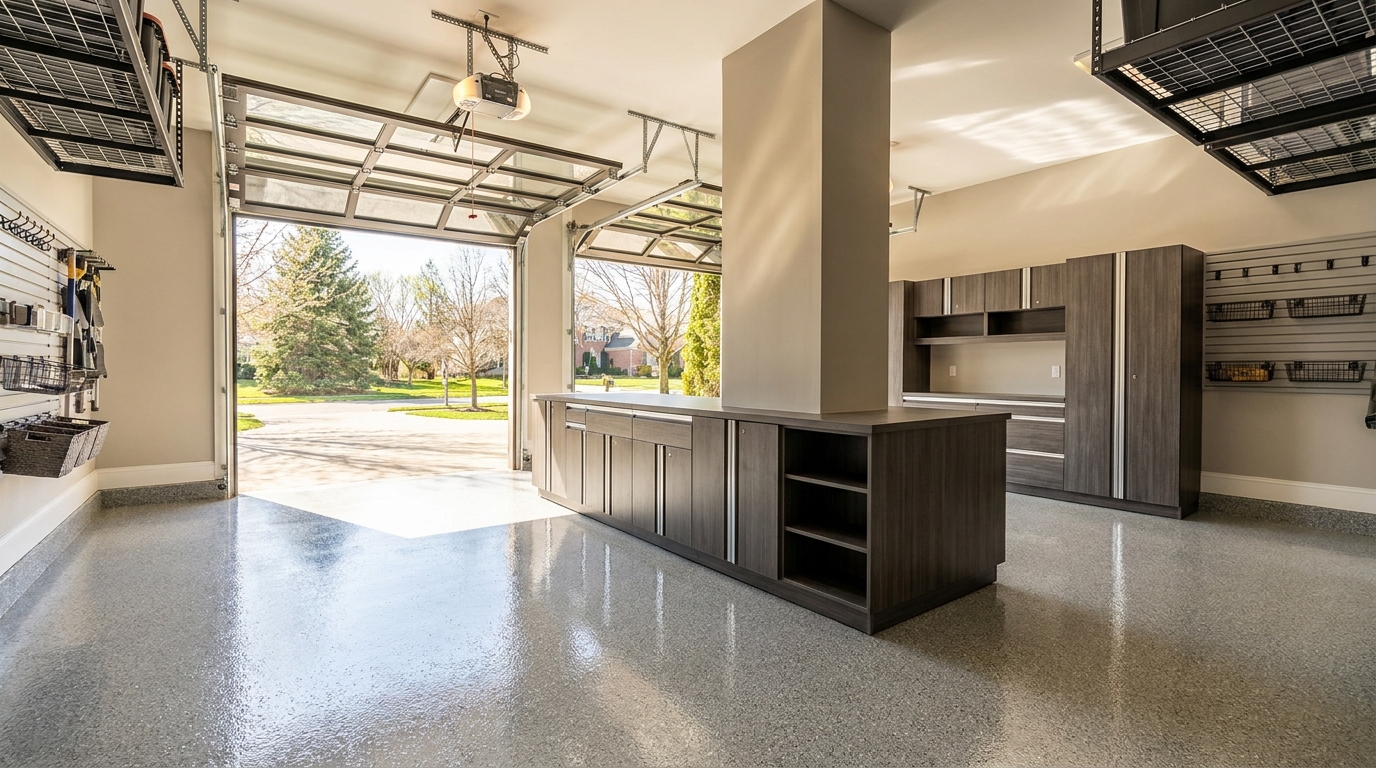
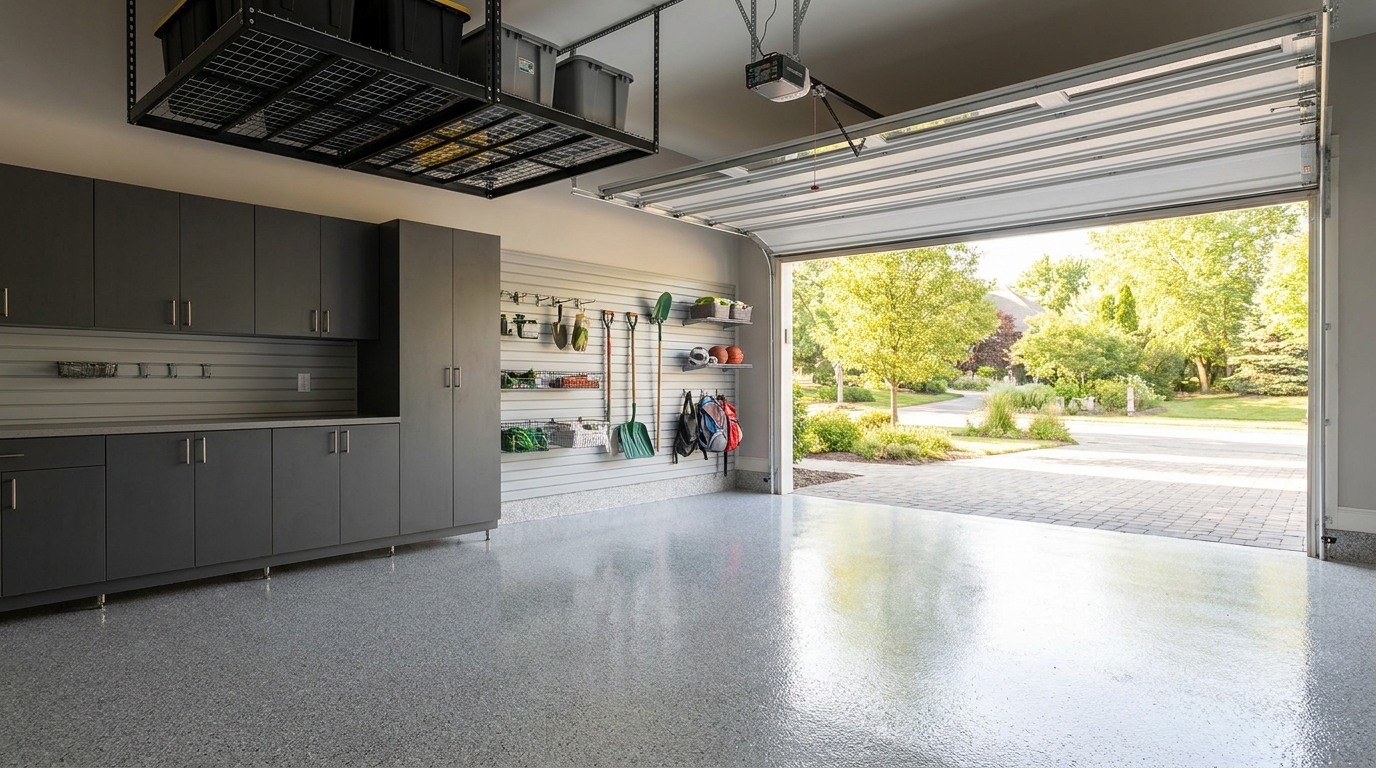
Garage cabinets take the long wall or the wall by the house door: wall-mounted boxes, full-depth bases, locker-style columns, drawers, and a workbench if the household wants a project counter. Slatwall takes the activity band, with hooks, baskets, and bins for the gear you grab this week. Overhead storage takes the rarely used volume above the door track. Garage flooring is the surface that makes the rest of it look finished, and it has to be chosen with the cabinet and slatwall colors in the same view, not later as an afterthought.
The 3D rendering is how those four pieces become one room. You can see cabinet projection against parked cars. You can see whether a workbench still leaves a walking lane. You can see whether the overhead rack sits clear of the opener and still leaves headroom. You can see the floor color running to the threshold with the cabinet toe-kick in the same frame.
NIBS treats that kind of spatial check as its own job. Coordinate Design and Construction is the BIM use for verifying layout and spatial arrangement, including clearances, before the field work starts. Potential benefits include fewer design errors and omissions, and the standard specifically lists virtual walkthroughs as a way to understand installation concerns between existing and new systems [4]. In a home garage the "systems" are simpler: door hardware, outlets, vehicles, and storage. The walkthrough still earns its keep. A clash between a locker column and a passenger door is cheaper to fix on a screen than on install morning.
We will adjust the layout with you. Swap a locker for a drawer bank. Shorten a cabinet run to keep a window. Move the overhead rack off the door track. Change a slatwall zone from sports to lawn tools. The coordinated-design process is explicit about this: adjust layouts, swap finishes, or revisit zones until the design matches what you want, and nothing gets ordered until you sign off.
That sign-off is the whole point of seeing the room early. Penn State's design-review write-up notes that different options are easy to model and change during review, that owners can preview space aesthetics and layout in a virtual environment, and that the model is a way to communicate the design and get feedback on whether it meets the owner's needs [1]. We want that feedback in the kitchen or the garage, with samples in hand, not as a surprise when the crew is already unloading.
Samples in the light the room will actually use
A rendering shows the layout. Physical samples show the finish. You need both, because a screen and a garage lamp do not tell the same story.
The National Institute of Standards and Technology puts it directly: the color appearance of objects under artificial lighting is an important characteristic of light sources, particularly to consumers. The standard way to talk about that is the CIE Color Rendering Index, which compares how a set of reflective samples looks under a test source versus a reference illuminant [5]. The U.S. Department of Energy, walking through the IES TM-30 method in a 2015-era briefing that is still posted, uses the CIE definition in everyday language: color rendition is the effect of a light source on the color appearance of objects, compared with how those objects look under a reference illuminant. In other words, lighting interacts with the objects in the space to produce the color you actually see [6].
That is why we put cabinet swatches, slatwall chips, hardware finishes, and floor samples in the garage, under the fixtures that will still be there after we leave, and next to whatever daylight comes through the open door. A Granite Gray shelf that looks cool and even in a bright showroom can read warmer or flatter under a 2700 K bulb. A Desert Stone overhead rack can shift next to a charcoal cabinet. Graphite Pearl hooks that disappear on a screen can pop in person. Floor chip blends are especially easy to misread on a phone. Hold the sample on the slab. Open the door. Close it. Look again.
DOE's older LED color-characteristics factsheet (2016) makes the same physical point without any garage marketing in it: color rendition is the interaction of a light source's spectrum with the way objects reflect light, and that interaction is a principal factor in how objects appear. Surrounding conditions and adaptation play a role as well. If the light on a surface changes, the apparent color of the object may change [7]. We would rather you see that shift during the visit than after the floor is down.
Bring the samples to the wall that will actually carry the cabinets. Hold the floor chip where the car will drip. That is the lighting the finish has to live with in Mecklenburg and Union County garages: a mix of overhead lamps, open-door daylight, and whatever spills in from the house.
Approve it in writing before install day
Once the 3D layout and the samples agree, the visit should produce a document you can hold.
The Federal Trade Commission tells households to get a written estimate that includes a description of the work, the materials, a completion date, and the price, and to ask for a written contract even if your state does not require one. Before you sign, the contract should include the contractor's identity and license information, estimated start and completion dates, and any promises made about scope and the cost of labor and materials [8]. California's Contractors State License Board, writing for consumers, makes the materials line even more specific: get it in writing, and be as specific as possible about quality, quantity, color, size, or brand. Their example is "install oak kitchen cabinets, manufactured by Company XYZ, model 01381A, as per the plan," not just "install kitchen cabinets" [9]. North Carolina is not California, and we are not copying another state's statute onto your driveway. The consumer advice is still the right habit. The plan you approved, including finishes, should be the plan in the quote.
That is what "on the spot" means on our end. The rendering and the samples are not a vibe. They are the scope. Cabinet sizes, slatwall coverage, overhead rack location, floor area, and the finish names you chose belong in the written quote so install day is executing a picture you already accepted.
If you want a change after that, it should be a change to the plan, not a hallway conversation the crew never saw. CSLB's other practical note is the same one we use: if you add or subtract work, substitute materials, or change a completion date, put it in writing [9]. A 3D layout makes those changes visible. You can see the new cabinet run, the shorter slatwall, or the different floor blend before anyone reorders.
What you should feel when you close the laptop
The finished garage should already look familiar on install day. You have walked the 3D room. You have held the samples under your lights. You have a written description of the work and the materials. The crew is then installing the room you already said yes to, usually in one to two days for a coordinated project, with a walkthrough at the end so the zones you designed are the zones you load.
That is a calmer way to buy a garage than hoping the parts will look right once they are on the wall. The design visit is the work of making the room visible early. Measurements keep the picture honest. The 3D layout lets you move cabinets, slatwall, overhead, and floor until the bay still parks two cars and still holds your life. The samples keep the colors honest under the light you actually have. The written quote is how that picture becomes the job.
If you live in Charlotte, Huntersville, Matthews, Waxhaw, or Monroe and you have been trying to imagine the finished bay from a product photo, start with the visit. The screen and the samples are there so you do not have to guess.
Practical takeaways
- Treat the design visit as the moment you see the finished garage, not as a measuring chore. The 3D layout and the samples are the deliverable [1].
- Insist that cabinets, slatwall, overhead storage, and flooring share one measured model so door travel, outlets, and parked cars are checked before anyone orders [3][4].
- Hold finish samples in the garage, under the lamps and daylight that will still be there after install. Object color changes with the light that hits it [5][6][7].
- Do not order until the rendering matches the room you want. Adjusting a layout on screen is the cheap version of a change order [1][2].
- Get the approved plan in writing: work, materials, colors, and timing, as specific as the samples you held [8][9].
How we can help
Have more questions or want to get in touch? Contact us and we will come measure your garage, put a 3D layout of the cabinets, slatwall, overhead, and floor in front of you, and leave the finish samples in your hands so you can approve the room before install day.
Citations
- Penn State Computer Integrated Construction Research Program, "Design Reviews" (2006)
- National Institute of Building Sciences, NBIMS-US™ V4, "BIM Uses with Attributes: 8.10 Review Design"
- National Institute of Building Sciences, NBIMS-US™ V4, "BIM Uses with Attributes: 8.1 Capture Conditions"
- National Institute of Building Sciences, NBIMS-US™ V4, "BIM Uses with Attributes: 8.9 Coordinate Design and Construction"
- National Institute of Standards and Technology, "Color rendering of light sources" (updated 2022-02-17)
- U.S. Department of Energy, Solid-State Lighting Program, "Text-Alternative Version: Understanding and Applying TM-30-15"
- U.S. Department of Energy, Building Technologies Office, "LED Color Characteristics" (2016-08)
- Federal Trade Commission, "How To Avoid a Home Improvement Scam"
- California Contractors State License Board, "What should I look for in a contract and binding agreements?"